Wednesday, 7 September 2016

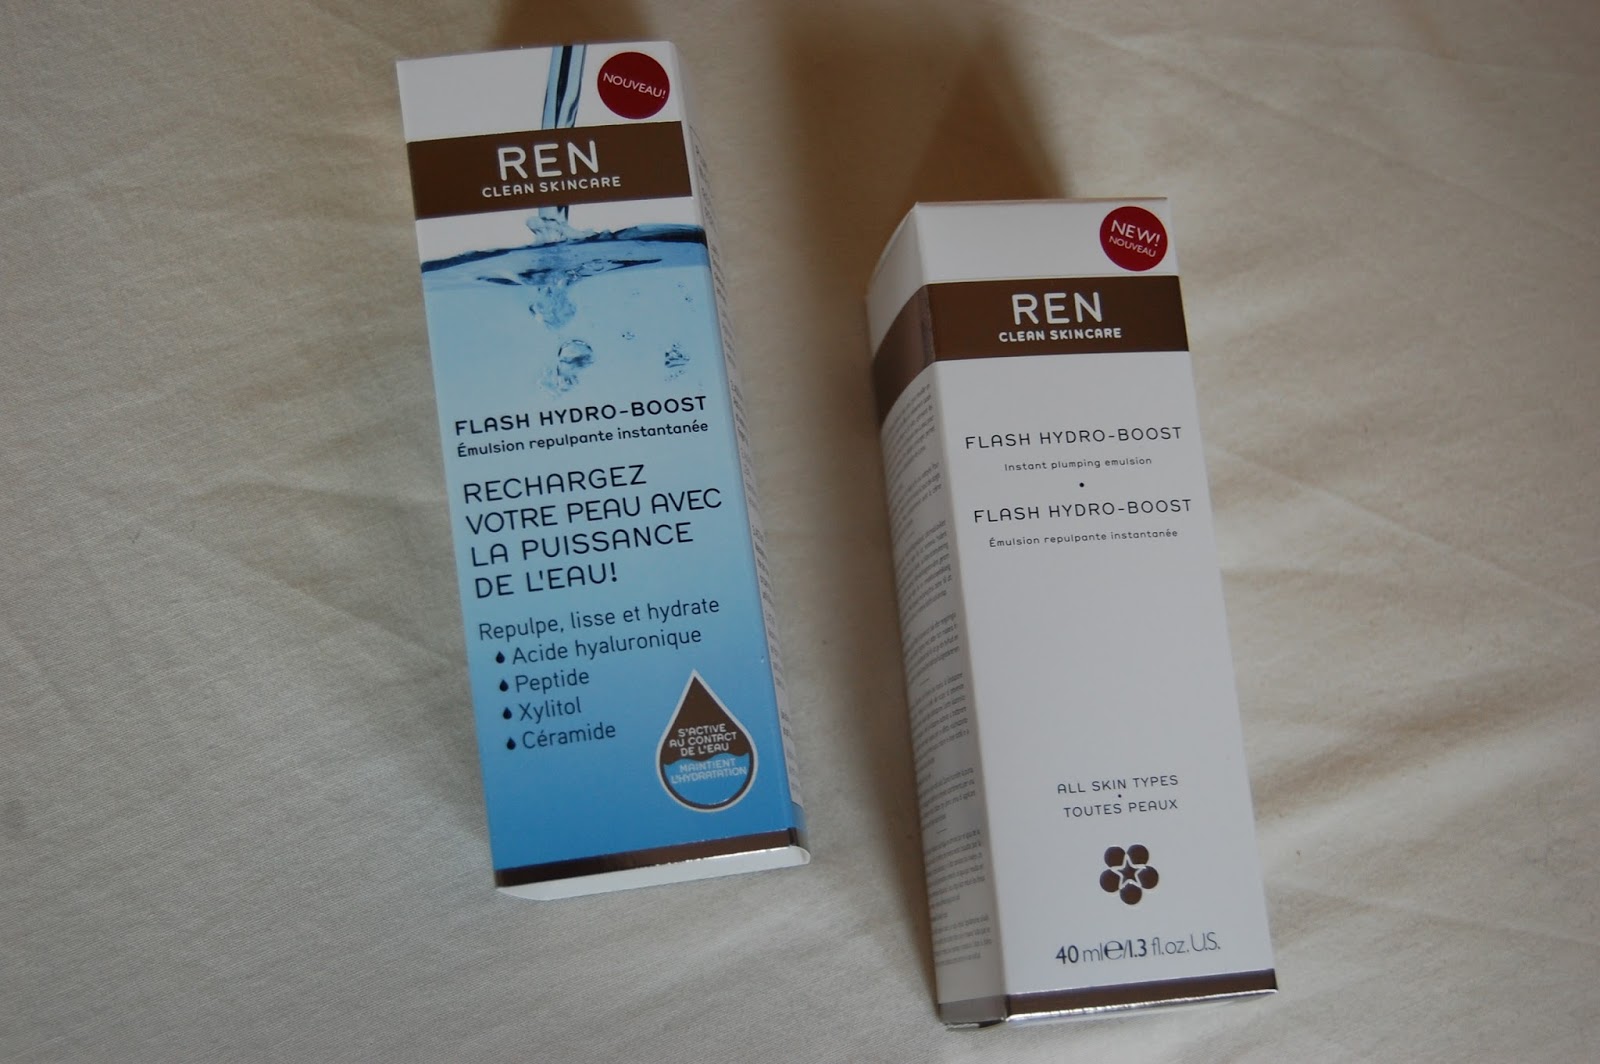
Ren Hydro Boost


As a huge fan of Ren products, when I saw that they needed testers for their new product that was under wraps, I knew I wanted to get a sneak peak of what they had in store. I had to email them telling them which products I used and why I loved them so much. While a one product answer would have sufficed, I think I wrote a five page essay on the tens of products I had tried, and how they had dramatically changed my skin.

Sure enough, a few days later, a package turned up and my door, and there wrapped in cute sparkly blue paper was the Ren Hydro Boost, a never before seen full sized product just for me! I thought I would get a small sample size so was delighted that I had the product as it would appear on shelves.

Although the product can be used by all skin types, I was really happy that the product targeted skin's hydration, as mine has been particularly parched recently with all the sun we've been having.


The flash hydro boost goes on after cleansing and before your usual skin care. You rub the cream onto the skin and then wet your finger tips and massage to activate the hydro boost. The first thing to mention about this product is the amazing smell. It smells clean, and purifying which is exactly the ethos of Ren.

I find the product soaks in really quickly, and makes my skin feel instantly plumper and more comfortable. I find my makeup goes on nicely afterwards due to the soft and plumpness to my skin, and the long term effects mean I have been seeing less fine lines.


I read in the Guardian the other day that Sali Hughes was a little let down by the product. She said it "throws a chalky cast over the skin (I don't even need to experiment to know that on a woman of colour it would be a disaster)" because of this chalky residue. 

I can honestly say I haven't found that at all, and that the product completely soaks in so long as enough water is added to the fingertips when massaging in, therefore anyone of any skin tone could use this product as it almost turns to water which is absorbed instantly. I can only think that she hadn't used enough water to activate the cream to water consistency needed to make the product work at its absolute best.

I have loved adding this new step into my cleansing and moisturing routine, and think that this will have to become a permanent product in day to day life. This product is £34.00 however you only need one pump of the product for it to work it's magic and after a couple of months it is still going strong!

Monday, 29 August 2016

Life Update: Beauty PR Interning

Hi everyone!

Sorry I haven't been posting much recently.
 I say that, but it has actually been over a month since my last post and I am really missing blogging!

 Summer is always a busy time of year. Weekends are filled with wedding celebrations, BBQ parties are thrown at any chance given, and seeing friends for drinks in the evening can go on for that bit longer as it stays lighter and warmer.
I have been really busy recently so thought I would do a little post about what I've been up to, so if you're here for all things beauty then this will be something a little different.

Saying that, the reason I have been so busy is because I have recently started interning at a Beauty PR company in West London, which is where I want my career to begin. As I went travelling for over a year, I am starting my career a little late in life at the ripe old age of 25, but travelling was something I really wanted to do, so I am really pleased I did it, and that chapter is over. (Not to say exotic holidays are off the cards at all!)

As I have no past experience in beauty PR, all I had to bring to the table was this blog, and my experience working in beauty retail. Although I didn't think I was advancing my career when working in retail, it gave me the passion and drive to continue in beauty, and also gave me knowledge about what brands are out there on the market. So remember, that however small the job, you will always be learning!

So I'm an intern! I feel a bit too old to intern, but not because I'm too proud or anything like that, I just think when you hear 'Intern' you think of a sprightly little 18 year old fresh out of Uni, and eager to learn, although I suppose I still look 18 and I am really, really eager. Maybe too eager?
Anyway!
 I am more than grateful for the experience and happy to learn as much as I can in my new role!

So what is Beauty PR?

I didn't really know myself to be honest, but lots of people had told me I would enjoy it so I thought I'd give it a shot, and thankfully they were right!
Beauty PR is making sure that brands get the coverage and exposure they need to be successful. That can mean sending products to journalists, meeting with bloggers to discuss launches and generally maintaining a good relationship with clients.
As an intern, I obviously don't do all that cool stuff just yet, but my daily routine goes a bit like this:

  • In the morning, I check all magazines a papers to check for any coverage. I really enjoy this part of the day as flicking through magazines is something I would do anyway, and it gives me the excuse to linger on the beauty pages a little longer.

  • Putting in data for each clients to ensure all coverage is logged. This is more of a labour intensive job, however it is really important as all coverage needs to be logged so we can see how often our products are featuring in magazines/online. It is actually the aspect of the job I found hardest adapting too, as I hadn't worked on a lot of the programmes - namely Excel- since school, so I have had to learn to be a bit quicker on that to meet deadlines.

  • During the day, it can depend on what is going on. Sometimes I'll be given a research project which can be fun. If there is a big launch coming up for a particular brand, then that will be dealt with. Alternatively, there could be a big launch happening so a mailer needs to be organised to make sure all the relevant people receive what they need. This can include making labels and writing comp slips which, again, is a bit labour intensive, however it adds a personal touch which is vital for a image.

  • Lastly, the post needs to be done in the evening and wrapped up so the presentation is perfect. I find it so exciting sending things for top beauty editors of Vogue and Elle to try out!
And that's pretty much it for now! I'm sure as time goes on I'll be given more responsibility, but I am really happy with where I am at the moment, as the team is small enough to give me importance and not just disappear in a huge team and become a tea girl.
We also look after some cool clients where I get to try a few bits and bobs so you can expect reviews of some of those items in the near future!

Some highlights for me have already been making up boxes of goodies for Zoella, Lily Melrose, and my other favourite bloggers to try. Also having Caroline Hirons walk into our office the other day was a huge moment for myself!

I'm sure there will be lots more exciting things for me to learn and discover, so keep your eyes peeled for product posts and more later on!

Other than this, not a huge amount has been going on. I got the honour of being bridesmaid to my best friend at the beginning of summer, and my boyfriends sister got married last weekend which was just magical! I've been catching up with friends since we got back from travelling, and just generally enjoying normal life away from hostels and suitcases.
Usually I indulge in festivals, trips away and other little jaunts in the summer, but due to my year off, I am really focusing on getting my life on track, so this has been just as fun for me personally.

I am really really lucky to be living in London as my Aunty and Uncle have a place just opposite Battersea Park, so I am loving being immersed in the London life, especially with the spectacular sunsets I have been getting from my balcony!


And that's all really! Like I said, expect more reviews, nail art and the usual stuff soon!

Thanks for reading!
Steph
x


P.S I did this post, as when I wanted to know more about Beauty PR, I remember finding a post about interning, and I found it so helpful, so if you stumble across this and you find it useful then please let me know!


Friday, 22 July 2016

Origins Ginzing Foil Face Mask

I am fairly new to Origins as a brand as I have only tried products from the Ginzing Range, however I absolutely loved the revitalizing range. The mix of coffee beans and orange zest really invigorate the skin and make it brighter and more radiant.

I saw via social media that there was a new mask to the GinZing range, and I wanted to try it straight away. I went to my local Origins counter in Boots and asked for a sample of the mask where the lovely lady gave me one to try as well as a mini sized GinZing moisturiser #megababe.

From what I'd seen online, it looks like a gold piece of foil on the face, so I was skeptical to think it actually looked like that, and thought maybe a little bit of photo editing had been used. Sure enough though, the mask appeared to have a metallic consistency, so I was impressed that it could live up to the expectation.


To apply the mask, I used an old foundation brush. I wouldn't apply the product with your hands as it is really thick, and feels like what I can only describe as melted down gold (whatever that feels like). The mask had a really citrussy smell, and when going under the eye area, it felt like the fragrance was wafting into my eyes so felt a bit stingy temporarily.

The lady at the counter said to leave it n for as long as possible so it hardened. I left it on for about half an hour which was really comfortable, and I knew when it was ready to peel due to that cracked feeling when I used any expression.


So next was the fun bit! With the help of my 9 year old sister who was itching to peel off the mask, we peeled it off in large chunks.


It took about 5 minutes to peel off, and it came of in bits rather than one whole mask. I needed to wash off any excess at the end, but it was really easy and not messy at all (provided you have a bin nearby). When peeling off slightly hairier areas near the eye brows and hairline, it felt a bit tender but other than that it was a really enjoyable and satisfying event!

Afterwards my skin felt unbelievably smooth, and appeared brighter due to dead skin cells being removed from the mask.

I would highly recommend this mask. At £24 for 75ml I think that is a good price for a mask that shows instant results. I used my whole pot in one go, but I imagine you can get at least 10 uses out of one tube. Is is suitable for all skin types and is a fun way to spend a Friday night!

Tuesday, 12 July 2016

Rimmel Lash Tinting Mascara

We are always looking for ways to make our eyelashes thicker, longer, and more fluttery. 

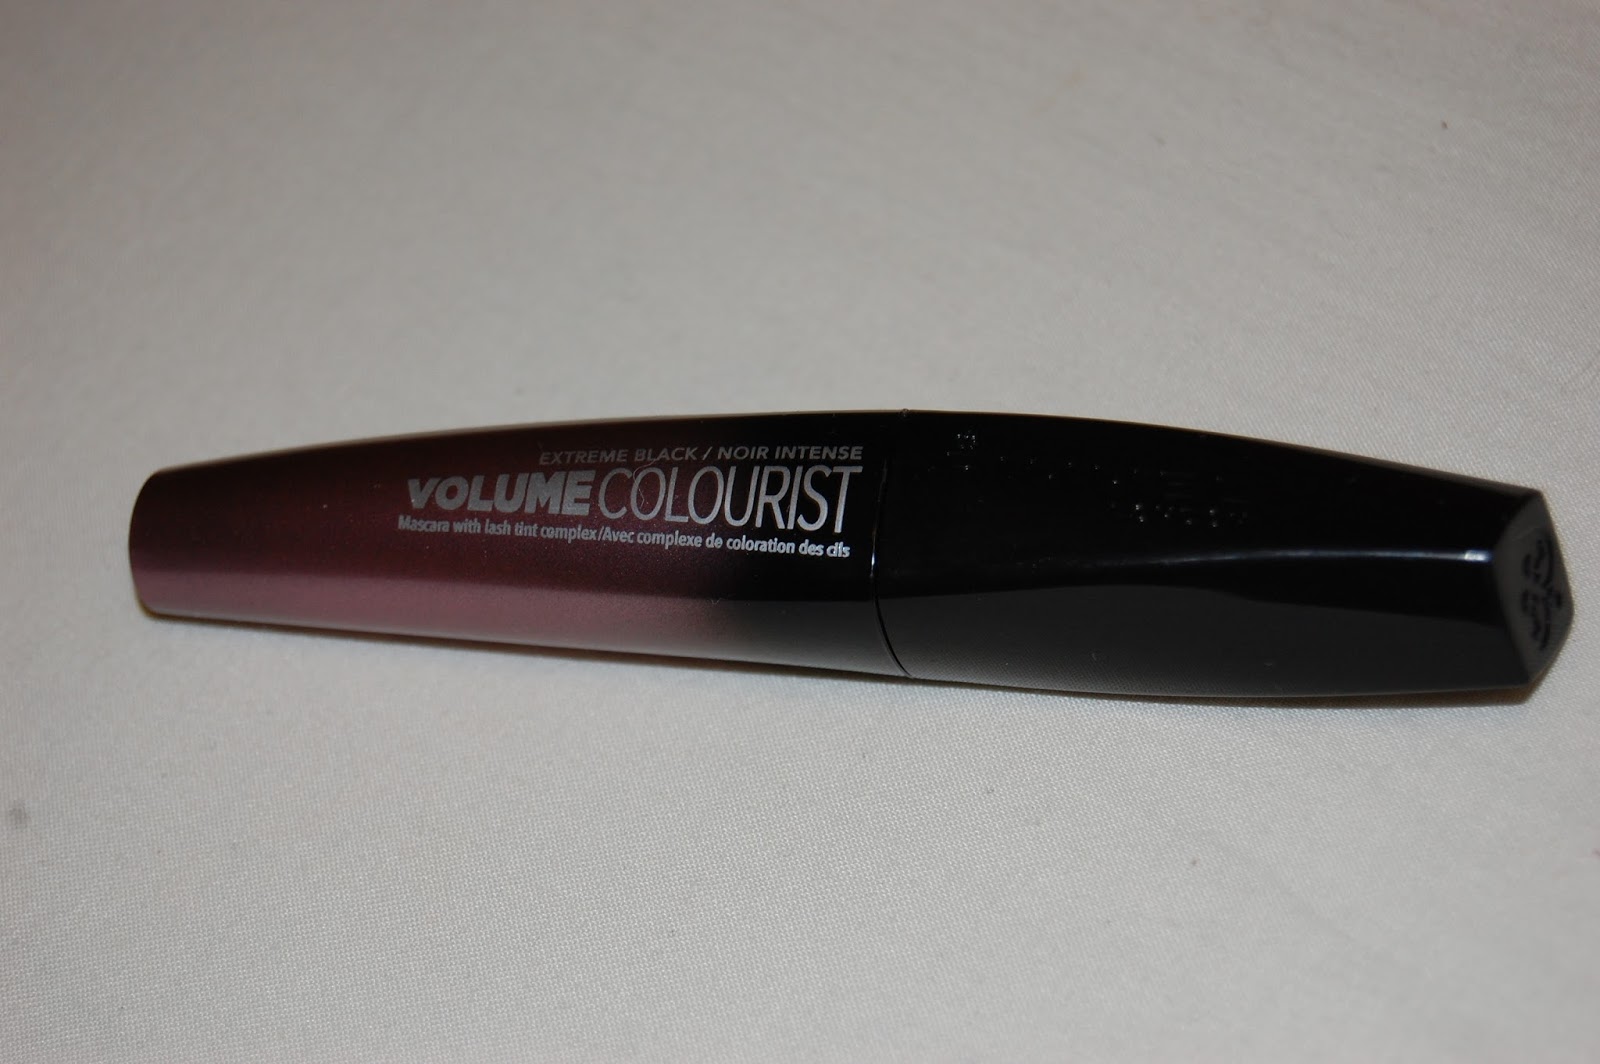
With plenty of eyelash treatments out there, such as tints, LVL's and eyelash extensions, natural beautiful lashes are easy to achieve. However these treatments take time, obviously cost money and need a lot of upkeep. The Rimmel Volume Colourist mascara promises to tint eyelashes as well as being a great volumising mascara. 

I have tinted my eyelashes before, but being able to combine the tinting with an everyday routine saves time as well as ensuring continual upkeep. It claims that you will be able to see the results of darker lashes after 2 weeks, so as it has been just over 2 weeks since I started wearing this new product, I thought it was time to see if this could be the new lash treatment to go for.

The mascara itself is this strange cube shape, and has a fairly standard wand.


Although the mascara claims to add volume, I felt it had a lot more to offer in terms of length. My lashes didn't look very thick, however the looked very long, be it a little skinny.


I wasn't wild on the effect at first, but I have started to get used to using it everyday, and having a longer lash.

So did the results of the tinting prove true? 

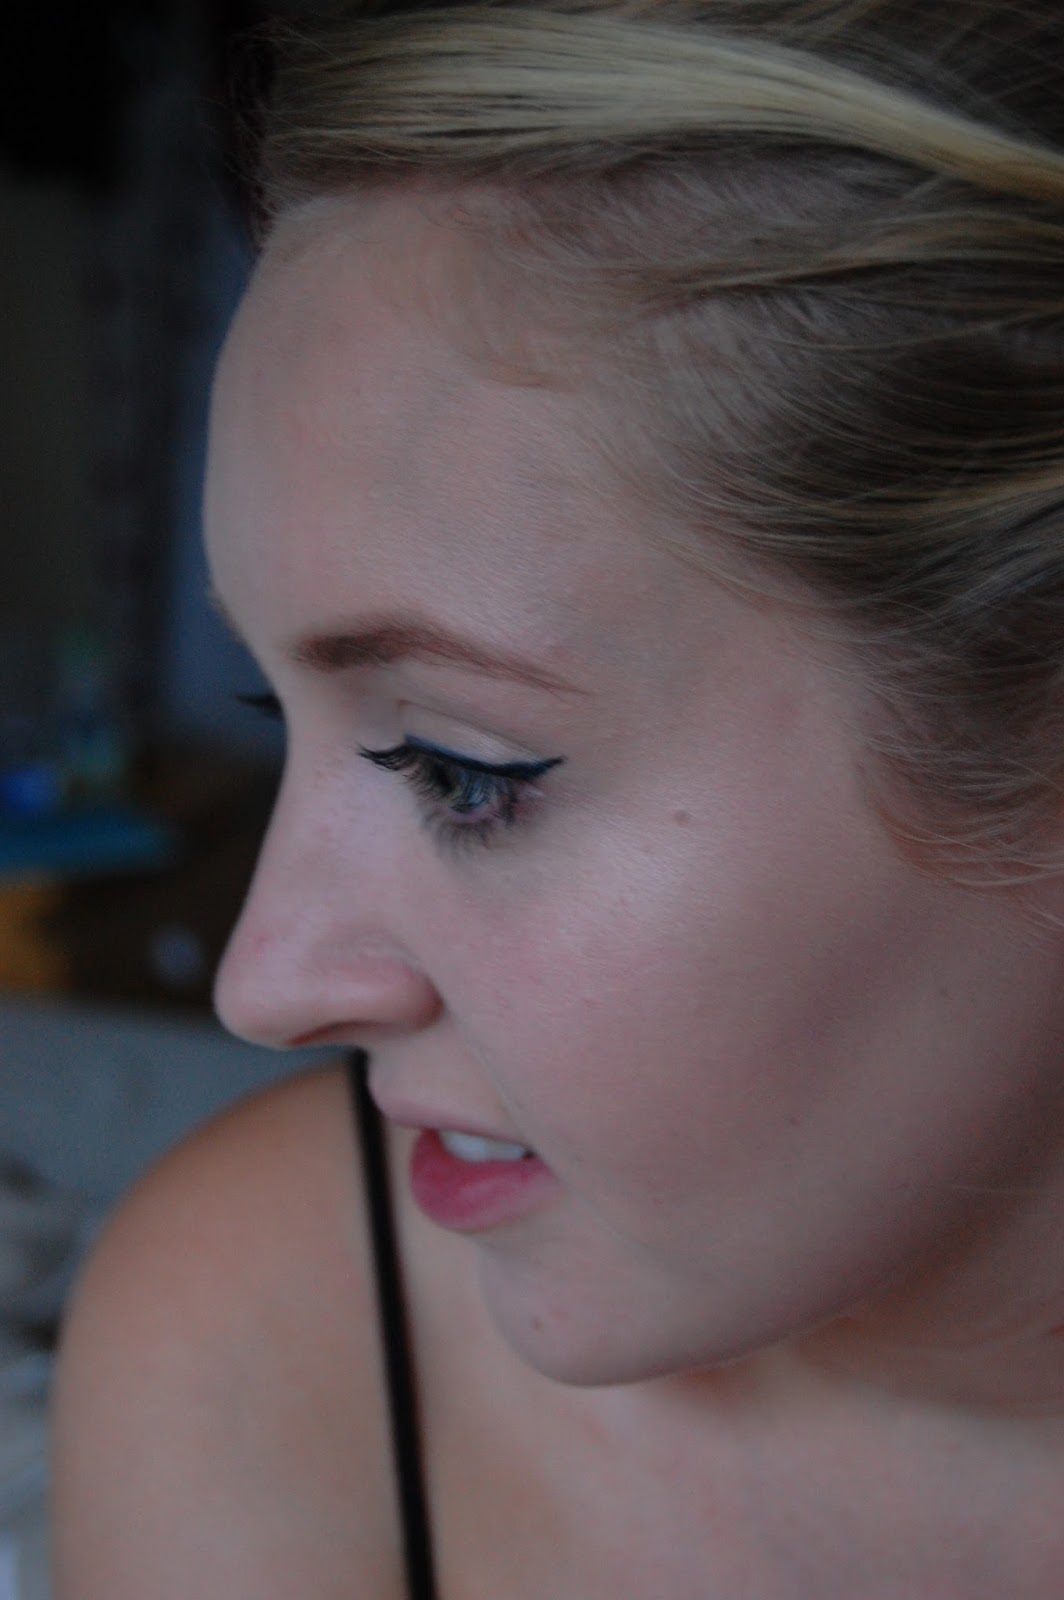
For me personally, I can see a slight colour change at the roots of my lashes, but not anywhere near the tips, which is were you want the tinting ideally as that will give the appearance of longer lashes.

As you can see my lashes are very fair. From the top, there was hardly any difference at all, but then when applying mascara, I use upward motions so the top of the lashes would have barely been effected by the mascara.

before 
after

From an more open eyed view, I think you can see more obviously where the tinting has worked on the roots of my lashes.
Before
after
Overall, I would say the claim of tinting lashes may be a little bit optimistic. Obviously I realise that they can only put a bit of dye in to make the mascara wearable everyday, but I was hoping for a little more from the mascara.

Before
After

I wouldn't give up on any eye lash treatments for this mascara. However the mascara is a good everyday wearable eye lash look. For £8.00 a tube, it maybe something you want in between treatments as a maintenance mascara.

Thursday, 7 July 2016

Stick Makeup

Hi everyone, hope you have been well!

Today I am reviewing and trying out some high street makeup items that have caught my attention.
In this day and age, everyone is looking for a quick fix on everything, and for me personally, if there is a way I can speed up my makeup regime before work in the morning then I will take it.

'Stick Makeup' is a great way to speedily apply makeup as well as carry around due to mini size. 
By no means am I a makeup expert, and would actually say that I am really inexperienced with makeup, particularly face makeup. Foundation seems to slip from my face, and a primer and powder are things that I see as an after thought. Therefore the latest beauty trends such as strobing and contouring really had me flumoxed. Even after watching endless videos on how to achieve the chiseled Kim Kardashian cheek bone, I still have no idea where to start.

Therefore I purchased these really inexpensive items in order to kick start my face slim down without breaking the bank at the risk of failing.

The first thing that makes me uneasy about contouring and strobing is texture. I don't know which is better or lasts longer out of powder or cream, or whether one is best suited to drier skin. If you can shed light on this I would love to know!
I went for cream products as I have dry skin and find them nicer on my skin. I also think for a beginner such as myself they are easier to handle.

So my contouring product is this Maybelline V Contour stick which costs £6.99.


I got mine in the shade light so the effects aren't too dramatic on my face.
The point of contouring is to add dimension to your face by highlighting parts of your face you want to bring forward and contouring to create shadows. I have also seen videos where artists have completely reshaped their nose or jaw line, but today I will be doing very basic stuff. Rome wasn't built in a day!

I applied the contour on my forehead, side of the nose and of course under the cheekbones to add depth.
I used the light side of the stick under my eyes, down the center of my nose, forehead, cupids bow and chin.


I then used my beauty bender to blend out the shades.


As you can see, my chubby little face has a bit of depth under the cheekbone which is where I want the most of the focus to be.


I think this product is a great way to get started, and to practice before purchasing more proffesional and expensive products such as the clinique highlight and contour chubby sticks that are a very similar idea. I would love to eventually try products such as the Anastasia Beverly Hills contour palette but I think I need more practice before spending that kind of cash. My only problem with this product is that eventually the two colours could potentially merge rendering the whole product useless, but I will keep you updated on that.

So next is highlight, and Barry M have bought out two shimmer strobe cream sticks in this pinky shade that I have, but also in a more brown toned bronzing highlight. For me, I chose the pinky toned one as I have fair cool toned skin so felt the bronzed one may look a little funny on me unless sporting a golden tan, and the pink more complimentary to my skin tone.


I just add this to my chekbones after applying my cream blush, and then once again use my beauty blender to get rid of the line created from the stick.


I think this adds a really subtle but pretty strobe to the face, and it is one of the products I can see myself re-buying.

Makeup on a stick is a great way to carry around makeup, as all your need are your products and perhaps one brush or blender to get flawless skin. I may investigate foundation sticks in the future, to see if the stick is the way forward!

Let me know if you have any recommendations or handy hints on contouring.

Tuesday, 5 July 2016

Grandiose Eye Liner

Hi all! Today I am reviewing the new Lancome Grandiose eye liner that launched a few weeks ago.
If you have read my blog, you may have seen that the Grandiose mascara blew my mind and jumped straight to my number one mascara beating Benefit's 'They're Real' and the 'Chanel volumizing mascara. You can read a review of that here: Lancome Grandiose Mascara


What makes the Grandiose mascara so individual is the swan neck wand, which is a theme they have continued to the eye liner.
The ball point handle means you can have it straight or create angles with the brush making it SO easy to apply. If you have trouble with eye liner, or maybe you just want an easy alternative, then this product is perfect for you.


Clicking the wand into different angles means getting a continous line into the inner corner of the eye  is a breeze.

It is also a great angle to go as a guide line for the outer cat flick


The reason I commited and bought this liner was because I tried the new three shades on my hand and they lasted all day even after washing my hands and going about my day. The eye liner comes in the classic black, a beautiful brown and a stunning blue.
 It is also worth mentioning that the launch of this liner comes with a new edition of the mascara, the Grandiose extreme, which I will realistically be buying very soon as well, as it is longer lasting, even blacker than the original mascara, and promises to give even more oomph. Along with that, there is also a new eyebrow mascara which comes in 3 shades from blonde to brown, and also a clear gel for the fair haired or if you prefer no colour.

I absolutely love this product. My only flaw would be that I find the formula slightly dry, so I keep having to dip into the pot a lot to charge up the wand when applying, but I think that dry formula is what makes it stay longer compared to a wetter liquid eye liner.


This eyeliner retails at £23.00 at all Lancome suppliers.

Monday, 27 June 2016

Marble-ous


Hi everyone, sorry I haven't posted in a very long time! I don't even have an excuse to be honest so I won't even attempt to explain why.

This Monday my manicure is of the Marble variety, and if I am completely honest, this was a nightmare to do and I got really angry doing it haha how sad!

I have never liked water marbling. I can't really do it, and I can't see how it can work perfectly for some and not for me! I do every thing right down to water temperature and viscosity of polish, and I still can't seem to nail it.

I watched endless youtube videos on how to create this look and this is as good as I could get!


Anyway ranting over, to create these nails, I painted a white base and let it dry. I then used some scrunched up cling film and dabbed on light grey (in Mavala Moon Grey) wiping of the excess before to get some really light grey splodges.

And then came the dreaded marbling. Using warm water, I dripped in the same Mavala grey and then used some hairspray to break up the polish and to give it a spidery web effect. Annoyingly, it worked perfectly the first time, creating my best two marble nails, and then after that I just could not get the same effect again. I just ended up wasting nail varnish and my favourite Percy and Reed hair spray.

Failure aside, I do think the two nails that worked did work well, but I had to improvise with the others which means an inconsistent look which I don't really like.

The Best nail
I am definitely going to avoid water marbling at all costs because I don't think my blood pressure can take it, but I will keep practicing other techniques to see if there is an easier way!