Thursday, 18 April 2013

Pop Art Nails

A nail art design that has always stuck out to me, is the Roy Lichtenstein inspired pop art nails. I have seen them in my Wah Nails nail art book, and I have wanted to try them for ages. Last weekend, I managed to get tickets to go up and see the Roy Lichtenstein exhibition in the flesh at the Tate Modern. Without sounding like an art buff, I was actually surprised to see a lot of pictures no one knows about, and all the different phases of artistry. Obviously the most famous are the damsel in distress' and action shots with all the dots and closeups. These nails are inspired by those, but I also want to try some other Lichtenstein inspired nails later on!

I really enjoyed the exhibition and due to that, I wanted to do my nails extra special to pay tribute. I chose the colours really carefully and tried to get them as close to the real thing as possible. He uses a lot of primary colours, and I thought the colours most similar to the ones he used, are the bright new Chilli and Spice colours by Mavala I blogged about a while ago. (read here) The bright red, sea green and navy blue matched perfectly, and I used the Barry M lemon for yellow. I even added a matte coat on top to get a real comic book effect. I hope you enjoy these as much as I did doing them!


Base Coat - Leighton Denney all for one
Red - Cuzco by Mavala
Green - Bamako by Mavala
Blue- Trinidad by Mavala
Yellow - Lemon by Barry M

Detailing - Models Own Nail art pens
Matte Top Coat - Rimmel

Monday, 15 April 2013

Toxic Drips


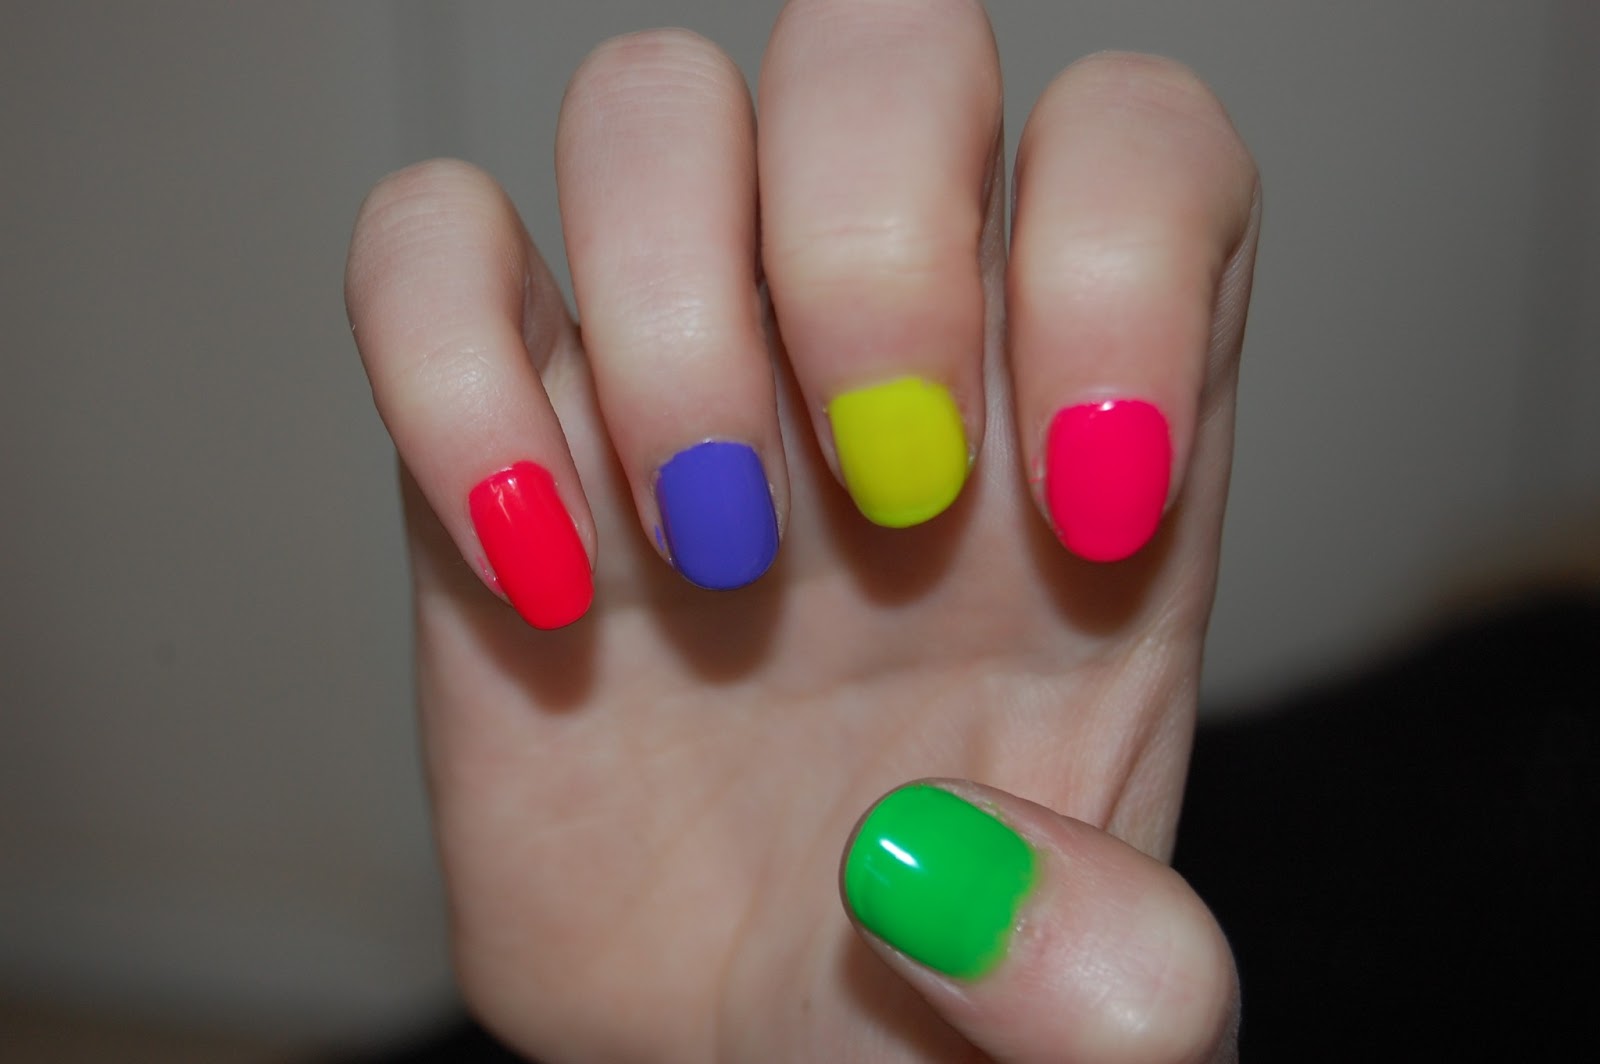
I thought I'd have another go at using my new neon varnishes and decided on this drippy effect. I used the Models own neon yellow and Models own black nail art pen.

Thursday, 11 April 2013

Neon Vs Pastel Nail Art

Following my last post about the Model's Own new collections, I felt that they were a little too plain for my liking so here is some nail art I did

These are my pretty chavtastic neon leopard print nails. I used the pastel shades for the lighter sections and used a Model's Own nail black nail art pen for the detail


These are DEFINITELY not my finest work but I hope you can tell that these are based on love heart sweets. The colours and the smells reminded me off them so I just drew on some hearts and shakily wrote some classic cheesy love heart quotes! 

Wednesday, 10 April 2013

Neon VS Pastel


This summer, neon is the trend of the moment. It stormed London fashion week and it is now an essential. Pastels have always been a summer favorite, and are a subtle way to make your hands look pretty and sun kissed for summer.
Models Own have done both ranges, and I want to know which YOU will be wearing this summer??


Neon is a very bold way to get yourself noticed, but as I said before, it is the trend of the summer. The Models Own range of polishes are bold, bright, and beautiful. The green and yellow colours are definitely the  colours you'd have to be brave with. the purple is actually not too in your face and quite pretty, and the pink and orange are both pretty toxic, but I absolutely LOVE them all. I probably wouldn't wear them all together, but I think individually you would make just as much as an impact.


The Models Own pastel collection are really somthing special. Not only are they really pretty bright pastel shades, they are also SCENTED! You may ask why you would want scented nail polish, and quite honestly I don't really know why, but if you can, then you may as well! The scents are subtle and actually do smell of what they're meant too. They are not overpowering so you won't feel sick every time you waft your hand past your face. I think the fruit pastel range is really cool and I also LOVE these too.


So please comment and let me know which is YOUR favourite and why!


*I bought these nail varnishes myself

Tuesday, 9 April 2013

Ombre Hair

I recently decided to jump onto the ombre hair band  wagon (eventually!) and thought it may be quite a useful post do write about! I used the L'oreal wild ombre kit, and this is how it went.

I used the kit for dark blonde hair to give the ends a light blonde effect as I didn't want anything to dramatic. The kit comes with all the neccessary dye, gloves and a little brush that will become your best friend. I would recommend doing it on unwashed, well brushed hair before you do it, as the brush will go through a lot easier that way. I would also suggest maybe having a friend to watch over to make sure your equal all the way round. The process is really easy! You simply part your hair and do one side at a time just pouring the dye into the brush, and brushing from where you want the colour change to start. The brush enables you to have a gradual fade into the new colour, rather than a dead straight line. For a more intense colour, you leave it as long as 45 mins but obviously it up to you how long you leave it for your desired effect.


Before
After

 For around £6.00, I would really recommend the kit as it is really
easy to use and doesn't take too long. I would suggest starting a bit lower and gradually moving up if you are a bit unsure of how high you want your dip dye to go.

Saturday, 6 April 2013

Dior

Dior have a wonderful new range of lip glosses and nail colours! The whole range aims to be seductive yet summery and the light pink, reds, and orange shades really pack a punch. 


The glosses are long lasting and non sticky and have a strong colour. If you have a preference on glosses then you can be sure to find one you like as there are strong coloured glosses, pearly or shimmery effects. The high shine makes them really brighten up an outfit and there is certainly plenty of choice. The light reflecting particles make your lips a statement, and they also have a plumping effect. They also come in lipsticks too if you prefer a denser colour with a more matte finish.


The new nail colours also reflect the playfuness and brightness of the glosses. With each nail colour adopting a shade from bright red to pretty pinks, any nail paint will go with any gloss, and they have a fantastic little testing device on their website where you can pick and choose which gloss and nail paint to try together, to give you a better look at how versatile the collection is. Each nail colour is priced at £15.


Princess is on trend with all the new pink shades coming out for summer. With more of a paleness, it is one of the more subtle colours but is slight shimmer adds to the 'princess' feel.


'Spring Ball' is a pretty coral colour with peachy tones, and again it has a slight shimmer to make it more girly.


'Diablotine' is a smouldering pink colour dabbling with red shades. This is more of a bold colour.


'Delice' is right on trend with the orange toned nails that is storming the nail trend this Spring. Again, it is a more subtle orange but it will still make your hands and feet look sun kissed and glowing.


Another exciting addition to the Dior collection is the gel coat top coat. Leaving your manicure with a gel effect finish, the coat leaves a high shine and smooth effect that lasts for days. It's flexible and protects the nails with a professional finish. It's rumored to be better than some of the exclusive nail companies gel top coat so this is definitely worth  purchase at £18.

*I do not own these products. I have permission at my place of work to take pictures of stock 


Thursday, 4 April 2013

Battle of the Brands: Magnetic Nail Polish

I was recently requested to try the Barry M magnetic effects nail varnishes, due to a disappointing experience. I had previously used these and had an equally disappointing experience, so thought I would give it another go! To make it a bit more interesting though, I thought I would compare the Barry M polishes, to the Nails Inc ones, and see if price difference really effects products. There are loads of different brands around that do magnetic polishes, but the Barry M ones and Nails Inc ones have quite a significant £8.00 price difference so I thought it would be interesting to see who won. I also played around to see if the different magnets would work on another brands polish. 
 
To use the polishes you apply one coat and leave to dry, and then do another coat and hold the magnet over the top whilst wet. The little lips on the lids next to the magnet make placing the magnet over the nail easy and gives you the correct distance. So here were my results.

I'll start of with the Nails Inc polishes. At £13 a bottle these are my 'splurge' purchases. They come in 3 patterns, fish net, stripes and a large star. They have different colours in these patterns but I chose the green, blue and gold. The other colours were not to my taste. To be honest, I was quite disappointed with the effects. The gold polish did absolutely NOTHING! so I had to try the fishnet effect on another nail.

Thumb- This was the green polish and I used the fishnet effect. It did work but because a thumb nail is quite broad it only did the top surface and not the sides.
Index finger- This was the blue stripe effect. It didn't go stripey but went more of an oil spill.
Middle finger- This was the green polish again but with the star effect. It looks better in real life to be fair.
Ring finger- This is the gold polish that had no effect whatsoever.
Little finger- This was the blue nails Inc polish but I used a Barry M magnet. This was not the best experience as the magnet actually fell off onto my wet nail polish so left a nice scuff. The magnet effect was coming into place though so you CAN use the Barry M magnets on Nail's Inc paint.


Next we have the Barry M polishes, I chose 4 colours, although they do moreof a selection online. I prefer the colours and the packaging is a bit clearer in indicating what the nail effect will be. These are much cheaper at £4.99, and I found I got on much better with them. The effects came out a lot clearer and again I found the Nail's Inc magnet worked on Barry M paint.

Little Finger- The black polish was the one I had tried previously and not had much luck with. Second time round, I think it didn't go quite as wavy as it should, but it did make a bit of a pattern
Ring Finger- This broken star effect did work but went to the corner of my nail for some reason.
Middle Finger- I was really impressed with this one as the lines were very definitive and the colour is really pretty.
Index Finger- This one was the best. It has a really clear pattern and has done its job perfectly.
Thumb- This was the blue Barry M with the Nail's Inc fish net effect. It did work well but again I only got a bit of coverage in the middle.


To be honest, I think magnetic polishes are a bit too much hassle, and although I don't mind the look, its not one I would do again. If you do like the look though, the Barry M ones are much better value for money so I would recommend those but hold onto the magnets as the may fall off!

*I bought all these nail polishes myself