Showing posts with label nail art. Show all posts

Friday, 16 February 2018

Chinese New Year Nails

Happy Chinese New Year! Today officially marks the start of Chinese New Year.

Before I get into Chinese New Year, I just thought I'd quickly tell you about my little trip to the I scream nails salon in Melbourne whilst I was travelling Australia in 2016 which first inspired these nails.  If you have read my blog before, then you may know that I often to I scream Nail inspired designs as I find they create fun, colourful and exciting nail art, a style I like to think suits me.

I wanted to buy the nail art book that they have, so headed straight to the source to find the place completely empty, and just the owner Celia there all to myself! There is another salon in Sydney which I tired when I was there but it was closed, but I was so happy to get there so I could meet Celia. She was so unbelievably lovely and spoke to me for ages about my travels and our passion for nail art. She gave me a few stickers and nail files to keep me going until I got home to England in the summer. She even showed me the back room and introduced me to the man behind the social media. It was very exciting for me and I was seriously fan girling the whole time. My biggest regret in life will not being brave enough to ask for a selfie with her, but I am still pretty pleased with my picture in their awesome salon.


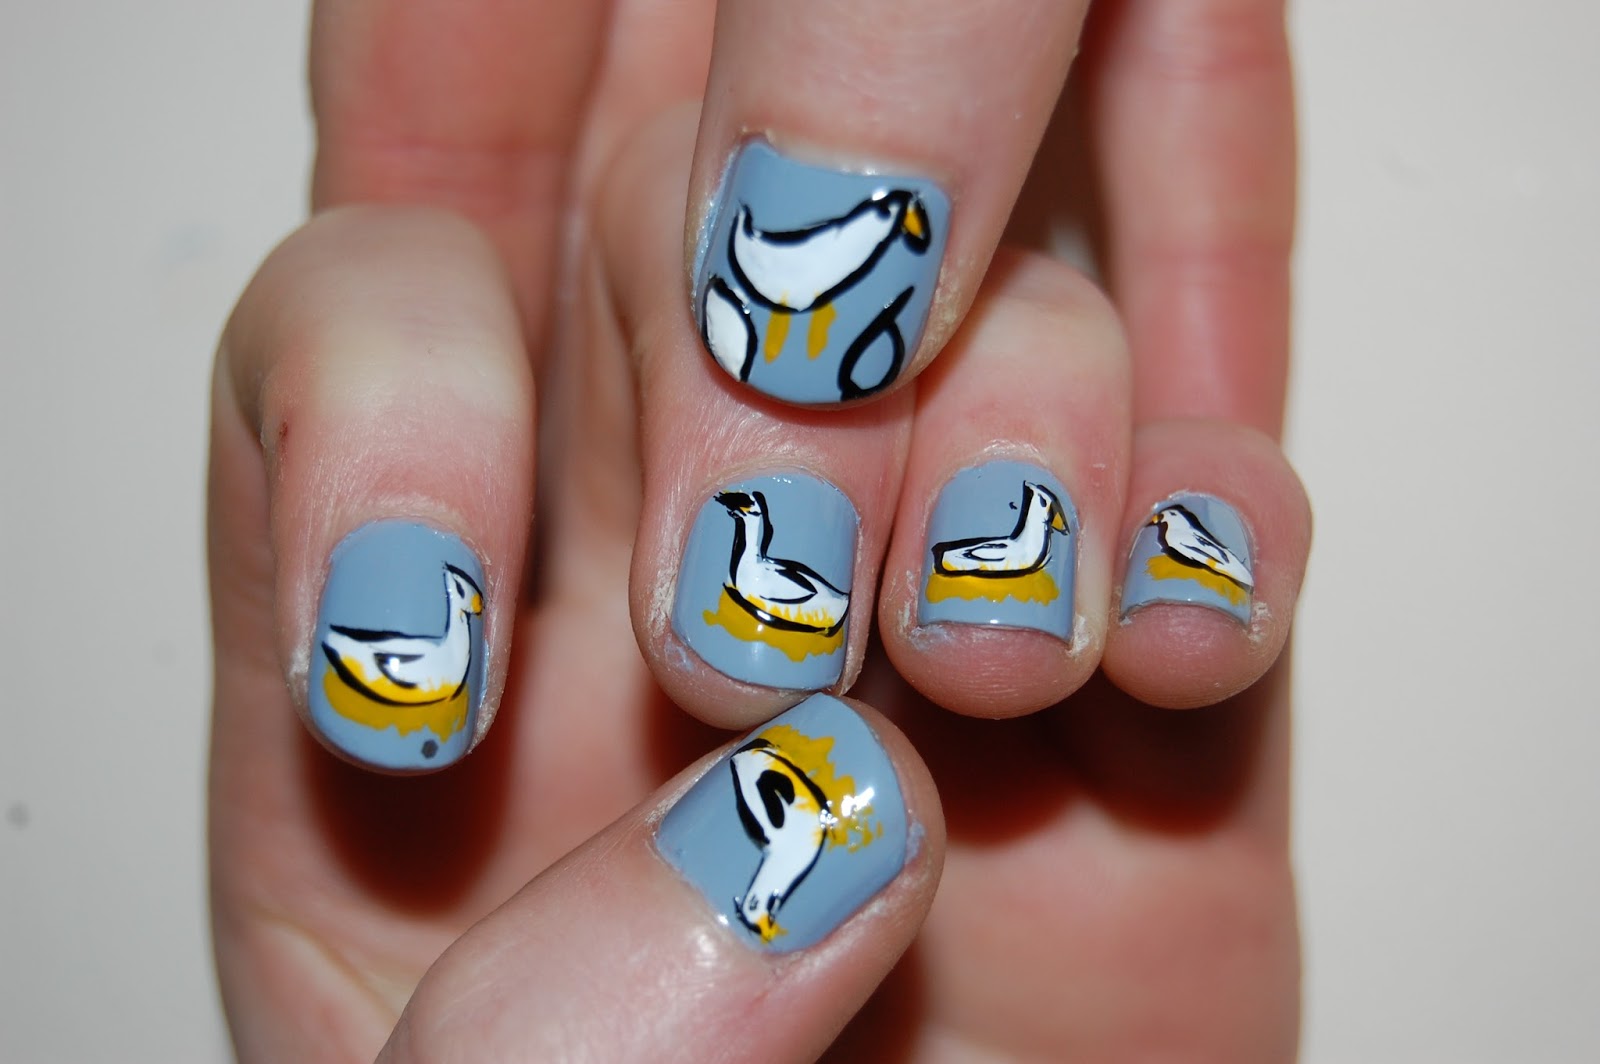
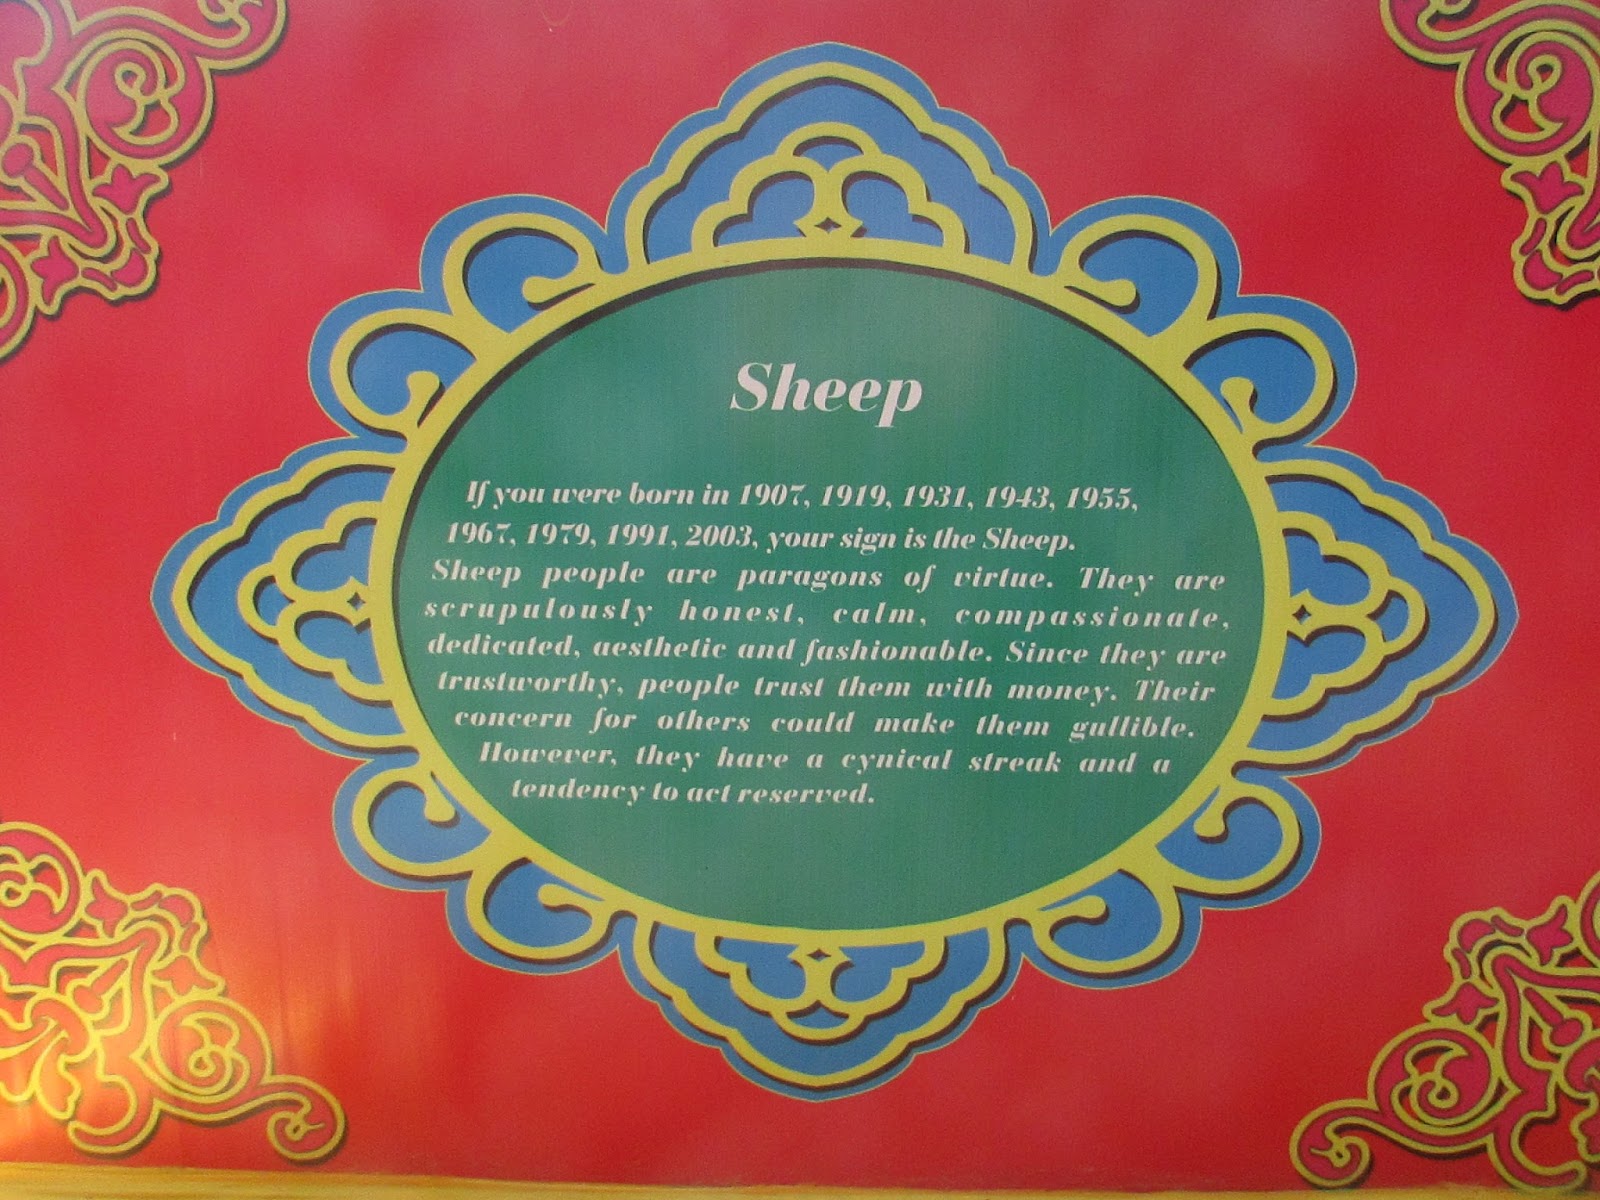
Visiting the Salon and Celia really got my creative juices flowing, and reading the book I found some inspiration. Walking around Melbourne city the other day, I swatted up on my zodiac knowledge, and found I am the year of the Sheep. Due to the large Asian community in Melbourne, they really go all out with decorations, and I realised this was the perfect opportunity to create the fun, colourful I scream Nails style of nail art I wanted to make


This large inflatable light up dragon in particular made me really want to create something for the Chinese celebration.


From here I went home, got my nail art tool bag out, and just had a play around and created this Chinese dragon.


These would probably be more appropriate for the year of the dragon, but I love the Dragon costumes that people get under and walk around in. They make the dragon look so real so I wanted to incorporate that somehow.


I started with the head, and then just had a play around with colours and continued it down the body.
Similarly to the costumes, I like how I can wiggle my fingers and make it look as though it is moving!


Are you celebrating Chinese New Year? What is your Zodiac sign? I'd love to know!


Until next time!

Monday, 12 February 2018

Valentine's Day Nails 2018

The last time I did Valentines day nails was in 2015 and that is just... not ok.

I haven't had much of my nail art mojo recently so I thought the time of year where we celebrate all things love I should give my little hobby a passion injection.
Once I sit down and get painting, I really enjoy it so I just need to get my juices flowing for creative ideas and remember to set the time aside to do it!

Below are four easy nail art ideas that you can try this Valentines day!

First up are these super cute, subtle heart nails.
These could be worn all year long as they are so understated but I love how simple they are.


I used a pastel pink base called Strawberry Tart, £4.99, Models Own then dotted the hearts from the  Alexa Chung Hearts Polish, £15, Boots in the base of the nail to give them a love lift.


Next are some rally lary in your face love nails.
I used a gold and pink glitter as a base which I kind of regret now as I feel a flat colour would have lifted the red better.

But oh well! These cartoon nails are super fun and bright.


Next is a neon sign effect nail design which reminds me a bit of a naughty Motel sign maybe to be used for a night of passion rather than love!


This is actually a really easy nail design to do. You just need a black base and then a white nail art striper to do the lettering. You then messily dab on a neon pink polish, I used Bubblegum, £4.99, Models Own and then go over the lettering again with the white to define it.


Finally is a Valentines glamour look which I used using the red glitter powder called 'Big Top' from my Ciate Mini Mani Month advent colour.


This deep red glitter as a tinge of pink and is super glittery and dazzling. If you love glitter, I would highly recommend getting a powder glitter as they tend to be finer and just look so much better!!

So there you have four easy nail art design to get you through this Valentines date night!
Let me know which ones are your fave!

For previous Valentines Day nail art click here

Tuesday, 14 November 2017

Ciate


I first published this post in 2013 and since then, Ciate have really made their mark on not only the nail industry but also makeup. Unfortunately, I believe their 'wow kits' are now discontinued, however I think you can still find them in the depths of the internet!

As this is now discontinued, it feels a little silly bringing back this post, however I have fallen back in love with this nail kit so thought I'd show it off and hope they bring it back!

 The kit comes with a base colour, three sheets each of four different colour foil, glue, and a manicure wheel for you to practice on. I thought that was really good value for money, at £18.

I started with the base coat 'pepperminty', which in itself, is a really nice fresh colour.


After a couple of layers, I was ready for foiling! I practiced on the wheel first to get the right technique. You randomly dab the glue and wait a couple of minutes for it to go tacky, and then place the foil shiny side up, rub and whip of really quickly. I used the 'waxing strip' technique. After that, I kept on layering...


After gold I used blue


then red


and finally silver. I also did another layer of blue as I thought it was the most striking of the colours.


And Voila!

At the beginning, I was being quite careful, but after half an hour I was being quite rough with it and found that worked better! Altogether it took me about 1 hour to do all fingers in four foils. Personally, I thought it looked better with fewer colours, and I will probably use the 'less is more' approach in future. Its a really effortless look that looks really interesting. It also lasts really well! I've had my foil manicure on for a week now and haven't had any trouble. When using some heavy duty cleaning products some of the foil wiped of but otherwise its all in tact. When using the foils, I went right up to the edges of the sheets so still have loads of foil left over. A very good investment and interesting kit from Ciate. 

I have also done this with a darker colour underneath and got a lovely finish better for Autumn/ Winter


Monday, 30 October 2017

Halloween Nails 2017


Hello everyone!
Once again it is that spooky time of year when being a little bit outrageous is considered ok.

Whilst  I won't be doing any dressing up myself this year, you know I never miss an opportunity to get a bit creative with some nail art!

Here are four fun Halloween nail looks to try this year!

Vampire Fangs


I found a tutorial on this online and decided to do my own version, but they ended up being a nightmare on this occasion. Rule one is to stick to the instructions.

I used a black base then tried to do the teeth first but it turns out it is much easier doing the lips and finish with the fangs! Using a nail art pen, I defined each individual tooth to give these nails some bite!

Pumpkin Nails 


These nails are really easy to do as long as you have the right tools! I used a yellow base then ombred the yellow and orange together with a sponge. Once they dried, I used a nail art pen to add a spooky face to each nail to create a gang of Jack O'Lanterns.

Green Slime


Another really easy design to recreate. I used a black base again and used a matte top coat to make the slime look slimier when it went on. Then I used my toxic green nail varnish from Jessica and just randomly painted drips from the cuticle downwards.

Bat Nails


Lastly are some nails leftover from my pumpkin base. I didn't have the dexterity to do more pumpkins so went for some bat nails inspired by I Scream Nails (a very apt name for this time of year).

If you think you will try your hand at some Halloween nail art, let me know which designs are your fave!

Have a Happy Halloween!

Monday, 7 August 2017

90s Nails

I have recently really got back into doing nail art. Seeing some of my favourite brands such as Wah Nails and I Scream Nails doing all their summer designs has my camera roll filled with screenshots of designs I want to try.

This design is taken from the I Scream Nails nail art book and it reminds me of the 90s theme credits from 'Saved By The Bell' and it is so simple to do but looks really effective.


The base I used is my current go to colour at the moment, which is Pinking Out Loud from the Barry M Sunset Gel collection. It is such a great bubblegum pink colour perfect for summer designs.


Using pastel colours on top of such a bright base will really make the pink pop. In all honesty, I have no idea what kind of shapes work with this design, but these sharp pastel zig zag shapes work with the black and white dots and stripes to make a contrast and big impact. I would love to try out some new fun combinations in the future.


If you have any ideas of fun colour combos or other shapes you think would work I'd love to know. 
Keep your eyes peeled for more fun designs whether it is 90s style or another design with this amazing pink base.

Monday, 17 July 2017

Emoji Nails

Hi everyone, today's nail are inspired by the marvelous emojis that grace our lives on a daily basis! I love to animate my texts with emojis so I have done a manicure inspired by my most used little faces!


I used a yellow Rimmel colour for the base, and then did the darker shading with my Barry M 'Mustard' colour. I then went over to define the expressions with 'Espresso' by Mavala and used nail art pens for any teeth! The heart eyed emoji was used with the Alexa Chung heart polish that has little hearts inside.

Monday, 17 April 2017

Chocolate Nails

It is Easter Monday and if you haven't been stuffing your face with Chocolate all day, then I take my hat off to you. Where ever I have been today I have some fragment of Easter Egg in my hand.


I have wanted to do Chocolate nails for a while now, as there is a great tutorial in my I scream Nails book I bought when I was in Aus. I thought as I didn't do any Easter nails this year, this would be  nice way to wind down from my long weekend.


My base colour is 'Espresso' by Mavala which I think may be a tad to dark for the milk chocolate I have been eating all day, but I am really pleased with the way the 3D chunks of chocolate came out.


These nails look quite hard but all you need is a bit of patience. 
Draw a black line down the centre of the nail, then create square blocks.
After that, paint on tiny L shapes with a dark colour and a light colour, opposite one another and that is it! 


I hope you all had a really Happy Easter!

Monday, 27 February 2017

Strawberry Nails 2.0

Did you know that today is National Strawberry day? Well it is!
So I thought what better way to celebrate than with some Strawberry nail art that also ties in with #manicuremonday.


If you've read my blog for a long time (and I mean really long time) then you'll know that my first ever nail art was strawberries.


The day I did these nails, I had no idea what was to come for me in terms of my nail hobby.

As I'd done strawberries, I never thought to do them again as I hate doing the same design twice, but as I'd like to think I have vastly improved from way back then, I thought what better to way to celebrate national strawberry day than with a recreation.

I'll probably recreate a few designs I did from years ago, as I started with the most fun and easy to do so it would be nice to do them again.

I really love these nails as they're so simple.
I used my Seche red colour for the base in the shade "Scorchin' Hot" which is such a fabulous red,
and then I used nail art pens for detailing.


For more fruity nails I've done click here

Monday, 12 December 2016

12 Days Of Christmas Nail Art

It is nearly Christmas!!!
On the 1st of December I decided to embark on a nail art challenge. The 12 days of Christmas nail art challenge. Although traditionally the 12 days of Christmas is meant to start on Christmas day, I thought I needed something festive to make that big day come quicker!

I won't lie, I had every intention of getting on top of it and prepping some super nail art before, but as per usual, life got in the way and I didn't post everyday on time. Admittedly, some of them I probably could have done better, but between living between two places, not having all the right equipment and having the busiest week at work along with a really crappy cold, it has been a bit hard.

However I persevered as I really wanted to deliver on my promise,
So without further ado, here are my 12 days of Christmas nails!


A Partridge in a Pear Tree.


Two Turtles Doves


Three French Hens


Four Calling Birds


Five Gold Rings


Six Geese a Laying


Seven Swans a Swimming


Eight Maids a Milking


Nine Ladies Dancing


Ten Lords a Leaping


Eleven Pipers Piping


Twelve Drummers Drumming