Showing posts with label textured nails. Show all posts

Thursday, 12 February 2015

Valentine Heart Manicure

It's getting to the sexy time of year where we celebrate Valentine's day! And it wouldn't be Valentine's day if there wasn't themed nail art to go along with it!


This year I've gone for some more textured nails, as I had a few heart themed things to try. The first being the Alexa Chung Hearts polish I got in my Nails Inc kit at Christmas, and the second being the red Ciate velvet I've had for ages and been meaning to try. As you may know I also have the green velvet from the emerald collection, and have done a few furry designs with that, but the red velvet called out to be used at Valentine's season.
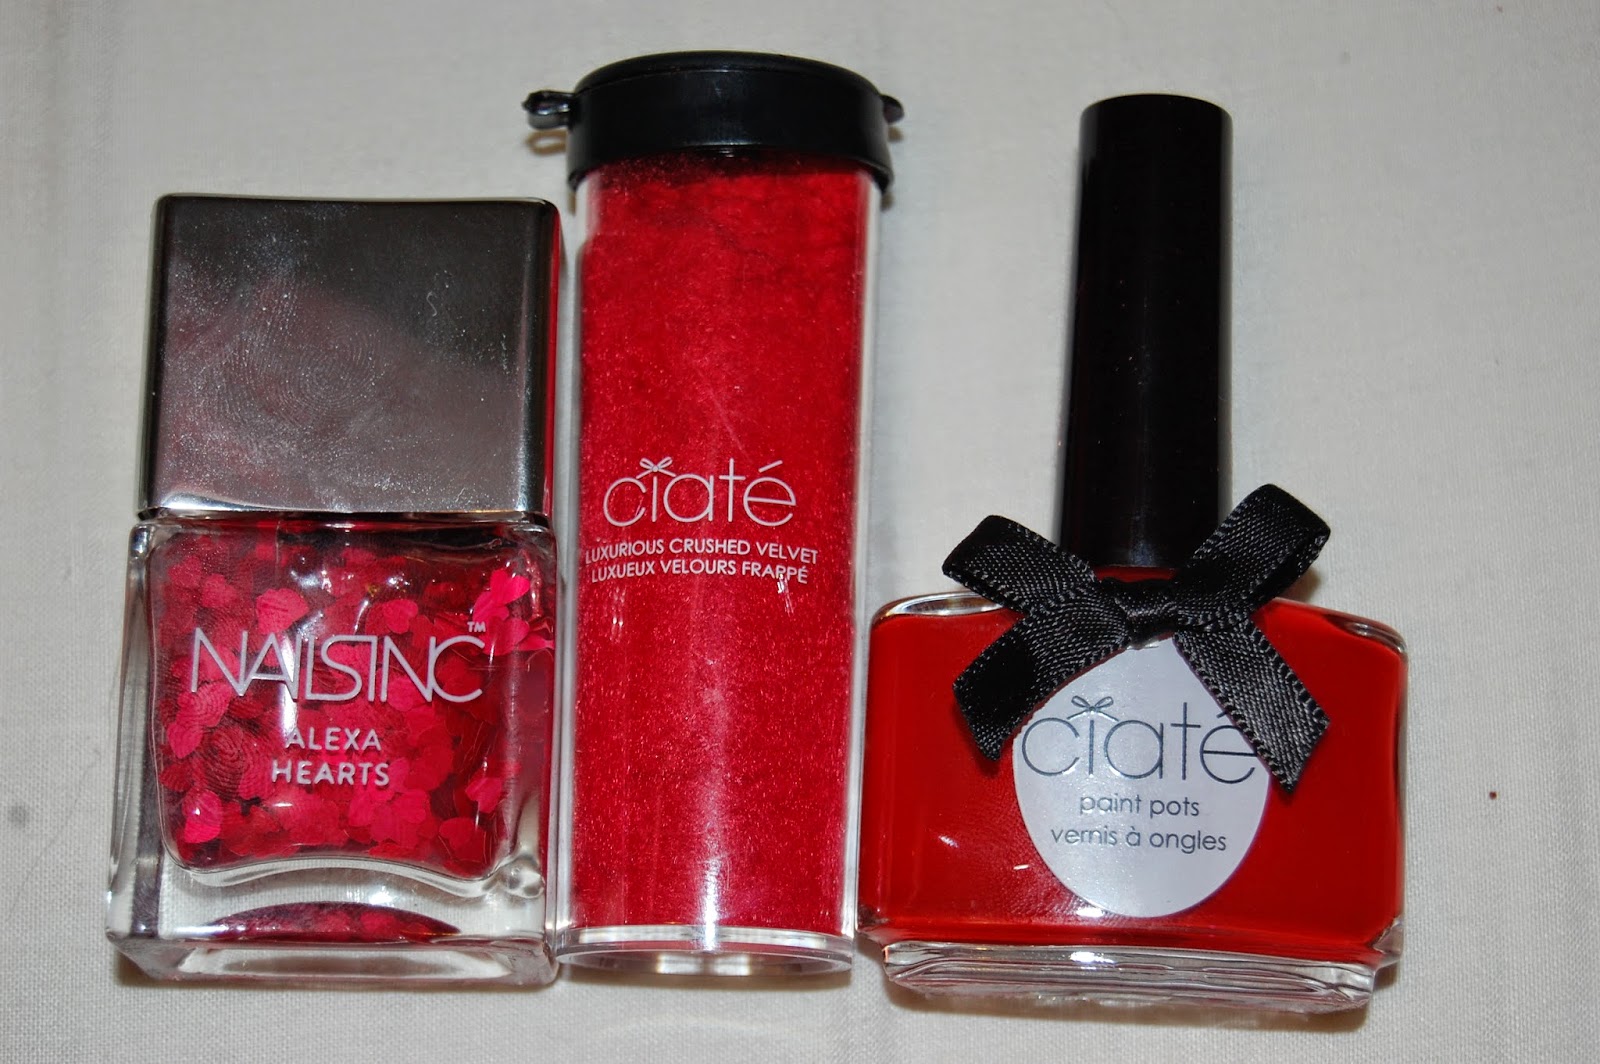

The red that came with the Ciate velvet was the very aptly named, 'Bodouir', and I just free handed the heart and patted on the velvet, for a fluffy heart. As for the Alexa Chung heart polish, application wasn't as easy as I'd have hoped. I wanted one quick sweep to give me flawless heart coverage, but unfortunately you have to work quite hard to get them out. I find swirling the brush around until you get a few hearts on the end, and the strategically placing them on the nail is the technique you need to adopt.


Nevertheless, it looks pretty cool and its a cute textured alternative mani from the usual hearts we see this time of year!


Love Steph x

Monday, 27 January 2014

Day 22: Studs

We are nearing the end of the month and therefore the end of my nail art challenge. Todays prompt is 'studs'. I was slightly apprehensive about this prompt as I am very inexperienced at using studs in nail art. Although there is a prompt later on in the challenge is 're-creation' I have kind of done another recreation in this post. 

I did a similar nail art design around this time last year, when I got my Nails Inc leather effect polish for Christmas. As you can tell, I was VERY new at studs at this point, as the studs are all wonky and not very neat at all. The pictures I used on my blog back in the day were also horrendous quality, and I don't think this picture gave the leather effect the justice it deserves.


I have used exactly the same materials in this post as I did back then so check the full post here!

I have done two variations on these studded nails as I couldn't decide on which stud to use. My sqaure silver studs or my round gold ones. Originally I thought the silver ones would be best but I thought the would be a bit boring by themselves. I drew on some silver lines and triangles to add a bit of interest but feel the silver stud got a bit lost in the design! You can see however that you can paint on top of the leather effect polish and get a cool effect. 


 The other stud design I did is a bit simpler, but I think I actually prefer it. The gold studs really pop against the black leather polish, and it has an understated look that I like.


Keep watching for the last few posts of my nail art challenge!


Wednesday, 23 October 2013

Halloween Nails 2

I thought I would try somthing really fun for these nails. When I reviewed the Ciate Emerald Collection, I said that with the crushed velvet, I would try a fluff effect. This sparked the idea of doing monster nails for Halloween. As I was doing real 3D fur, I thought I should add to the madness of these nails and add some 3D eyes aswell.


The base coat was 'Speed Dial' by Ciate again
The green dots were done with 'Ditch the Heels' by Ciate
The claws were done with 'Lychee' from the Barry M Gelly collection.
All detailing was done with black and white nail art pens.
For the 'fur' effect I painted on a clear coat and sprinkled over the velvet and cleaned up with the brush.
The eyes were applied onto the wet clear coat too, and I bought these from Hobbycraft for £1.00 for a pack of 100.


The googly eyes didn't stay on too long but they are good fun so I'll forgive them! Let me know what you think of these nails!

Monday, 15 July 2013

Barry M Confetti Polishes

As I said in a Facebook post the other day , I have become really slack with my regular posting recently, and I have had these Barry M polishes for weeks and weeks now and I can't believe I haven't reviewed them yet! 


As some of you may know already, these polishes are very similar to the Nails Inc feather range. I personally didn't think that 'feather' was the correct word for the effect the little bits created, but I was still desperate to get my hands on them, however at £11.00 a pot, I was having to save up my pennies. As you can imagine, I was so happy to see that Barry M had bought out a similar effect, and I think that 'confetti' is a much better word for the effect. If you read my blog, then you will know I did a battle of the brands to see if price made a difference to the quality of nail polish. For that post I did Nails Inc VS Barry M with magnetic polishes and on that occasion, Barry M came out on top. This made me feel a lot better about buying the whole range of confetti polishes from Barry M at just £20.00, where that wouldn't even get me two polishes from Nails Inc! I also prefer the colours of the Barry M collection to the Nails Inc ones.

Nails Inc Feather Effects. Picture from nailcandy101.com


These effects are created but using little rectangles of different colours. There are lots of different ways to wear the polish. You can opt to have a couple of coats over a colour that matches, over colours that don't match, layer up different polishes from the range, or I chose to layer the coats up to create the look the bottle gives. I used about six coats when creating these looks. They really don't look that good if you just do one coat, and you have to get to grips with the awkward application. They dry really quickly though so six layers takes no time at all. You also don't need a top coat as the bits are bound together with an already clear polish, but you could if you wanted extra protection.

Here are the swatches of the individual colours.


Sour Apple
This is one of my favourite from the collection. I would happily wear this on all of my fingers as it had a good depth to the green and yellow colours.


Dolly Mixture
This is more of a paler colour which I would prefer on my hands when I had more of a tan. The texture is made up of yellow, blue, light green and orange sprinkles. It is the polish with the most colours.


Marshmallow

Again this is a paler colour which I'd like with more of a tan, especially to make the white sprinkles contrast with the pale pink more. A nice compromise for a pastel pink which is in fashion this summer.


Bubblegum

This is another of my favourites. The bright blue really pops in contrast to the white flakes. A nice bright summer colour.


Liquorice

This is the polish I didn't think I would like, but it actually looks really cool on the nail! It reminds me a bit of the L'oreal confetti effect. The contrast of the black and white is classic but it still surprised me at how chic it looks.

Sally Hansen is a brand I still need to explore, but they too have their 'fuzzy polish' which is exactly the same effect, and has basically the same colours as Barry M. I do like the look of the orange colour Sally Hansen's collection has though. These polishes are £6.99 each, so Barry M is still on top with its cheap prices.
taken from project-swatch.com


Tuesday, 9 July 2013

Nails Inc Denim Effect

The denim effect polish by Nails Inc is a fairly new product. Much like the leather effect one I reviewed a while ago, it is a textured polish that aims to look like denim. All you need is one coat of the polish and it will dry textured. You don't apply a top coat either as the matte look makes it look really denim-y. I have seen a  lot of reviews that say it chips easily, and I too have had a few chippings already but this could be due to the lack of protective top coat. I however really like the look, and I really like the little denim lid that it comes in. Not only does it look good, it gives you a bit of extra grip when painting your nails! The actually textured look is achieved by small grains of glitter, so make sure to wear a base coat so you don't scratch your nails. It's not as rough as a glitter polish but just gives the variation in colour to give it the denim appearance. 

You can buy the polish in a kit for £19 which comes with little star studs, so you can make your nails look like a pair of jeans. I however just had the polish, and decided to put my own twist on the look. I used a silver Model's Own nail art pen for the zip detailing.


Tuesday, 14 May 2013

O.P.I Bond Girls Collection

I have been so excited about this collection, and it finally arrived at work today! I was over the moon when I saw the box! The 50 Year anniversary of Bond has caused merchandise overload for the Bond films, and it does not stop at nails! The collection is all liquid sand, which I think reflects the pretty but edgy side that comes with being a Bond girl. I do not know a lot about Bond, so have done a bit of research into the Bond girls to see how they influenced the collection.


Solitaire


Solitaire is a pale white, with little bits of silver glitter. This colour reflects the whimsical side of Solitare, and the white colour reflects her virginal status, which draws Bond in to seduce her. 

Pussy Galore


Pussy Galore is a pale pink with glittery shimmers. Pussy Galore was written as a lesbian in the Bond books, but she also has her girly and pretty side which this pinky shade connects with.

Tiffany Case


Tiffany Case is a deep, electric blue with pale blue glitter. Tiffany Case is described as being a ditzy, yet playful diamond smuggler, which this colour reflects. The bright blue is a playful shade.

Vesper


Vesper is the famous Bond girl who really gets Bond to fall for her. She betrays him which ultimately leads to her death which  gives this colour its morbid dark tone. Vesper is said to be named so, because she was born on a dark and stormy night. The colour when it is on, is a deep purple colour, and the sand looks really chunky and dark on top of it. This colour is one of my favorites.

Honey Ryder


Honey Ryder is that Bond girl famously known for walking out of the sea in her white bikini, looking all sunkissed and beautiful. This colour really reflects this scene, and the sand effect mirrors the white sand on the beach she walks on.

Jinx


Another famous beach scene is when Halle Berry walks out from the water, with her bright orange bikini on. This colour is another of my favourites, and it has a real glittery effect with light pinks and hints of gold. 


These swatches give a much better idea of what the colours look like out of the bottle. These are really lovely summer shades, and the liquid sand effect is right on trend at the moment! O.P.I polishes cost around £11.50 but the bottle is huge and will last you ages.

(Also, the nail polish I am wearing in this post is 'South Beach Pink' by Mavala)

*I do not own these colours.


Wednesday, 24 April 2013

Jessica: Textures and Sparkles

The new Jessica Textures and Sparkles range is very exciting stuff! This is the first time Jessica has ever done anything different like this with their bottles, and although the new bottles are slightly smaller they have adopted a Chanel style of bottle which looks very chic! The range has taken on the new 'sand' effect that some other brands have done. The Jessica range mixes glitter and sand to make a girly choice of colours.


'Ruff & Ready' is a super girly glittery pink. It look good in the bottle and even better on the nail. It is a mix of sand effect and chunky glitter and it is great!


"Chills Down Your Spine" is a pale pink that is just sand effect with no glitter. It has a matte effect and adds a little something to a pale natural colour.


"Give Me Goosebumps" is another great chunky glitter colour. Again, it looks great on the nail and it is a really nice deep purple.


"Excite Me" is a shade that really does excite me! My picture doesn't so the colour enough justice because its a really cool matte purple with a sand finish.


"Touch It" is the final glitter shade and is a deep gold colour. I'm not usually a huge gold fan but this one is really cool! It would look great as a singular statement nail on one hand as it has real depth to the sand and glitter.


"White Hot" is a simple white sand colour. It would look really chic on all hands and nothing else, as the sand gives it depth and a edge.


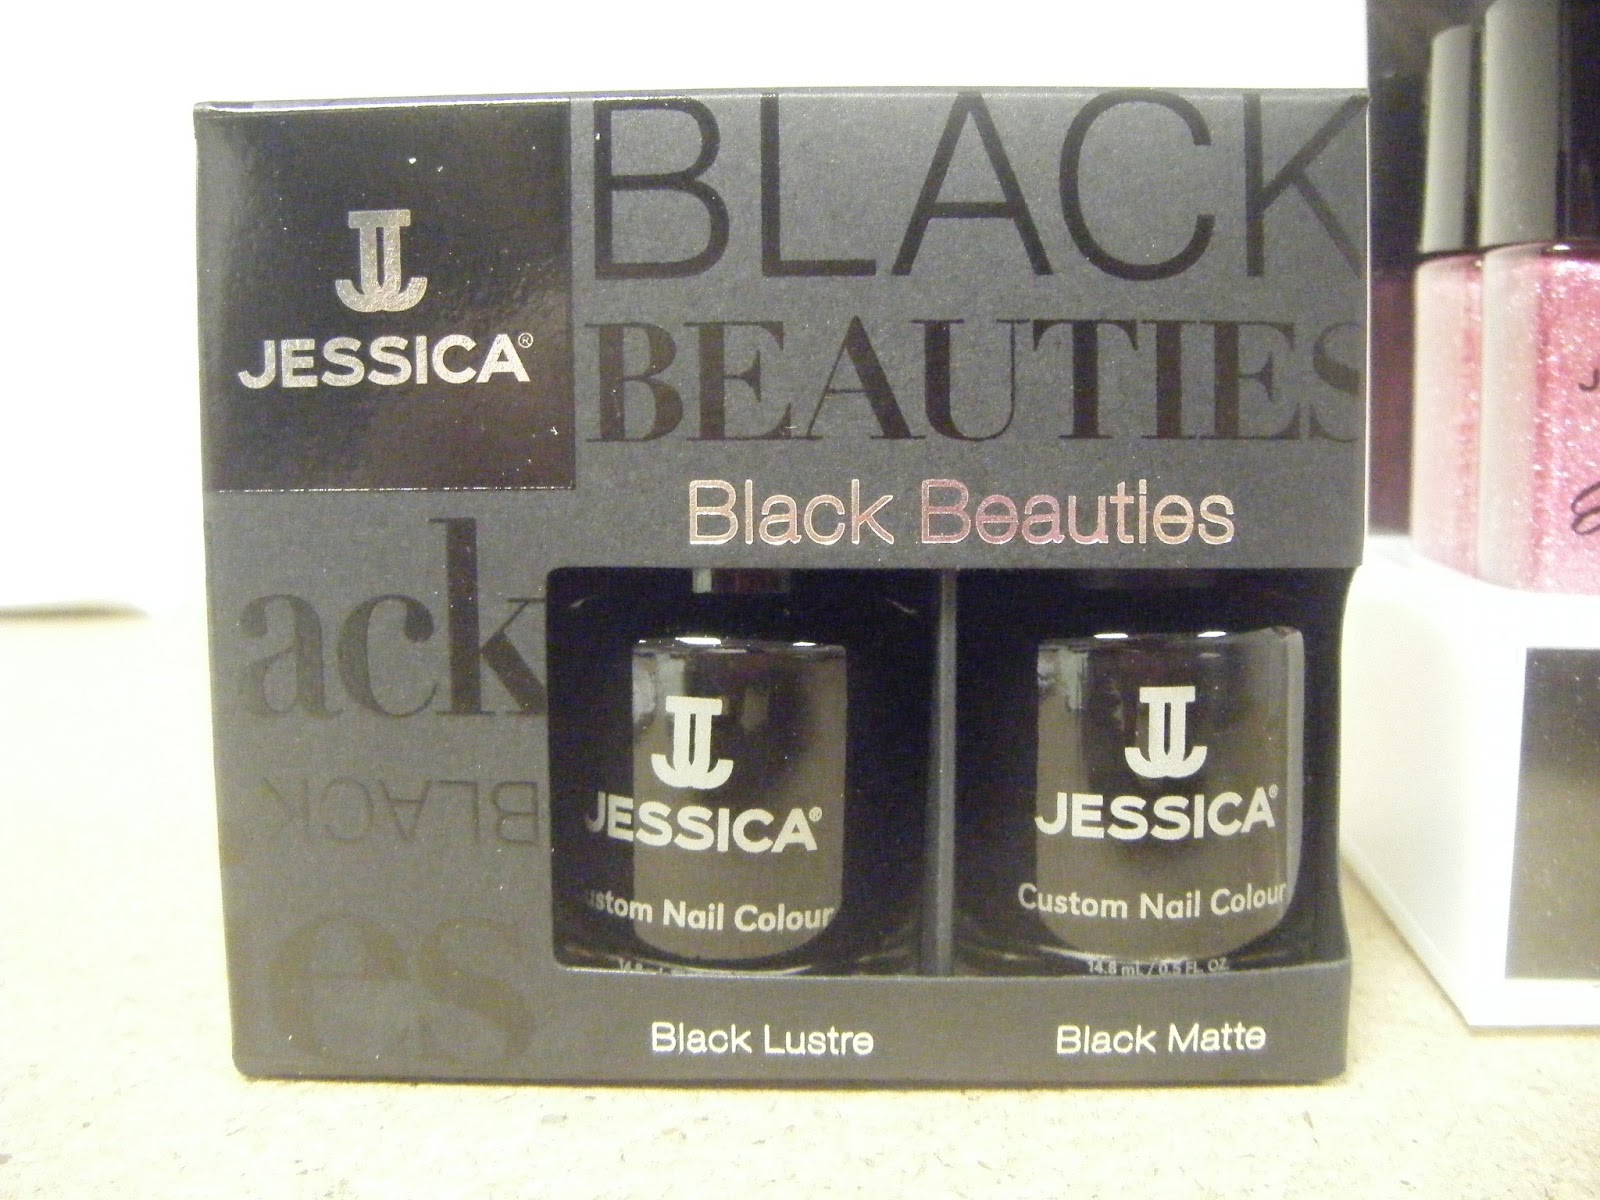
Another cool little set Jessica have brought out is the 'Black Beauties' which is a pair pf black polishes, one of which is matte.
The pair together can create some really cool looks! I didn't use these polishes for this nail art, but its just to give you an idea of what you can do!


Monday, 11 March 2013

Barry M Textured Nail Varnish


I am THE biggest fan of Barry M and I can quite honestly say I think I own nearly every colour that there is! My newest purchases were these new textured colours, which have a grainy sand effect in four cool pastel shades which are very current for Spring (which is taking its time!) They are similar to the Nails Inc concrete and I think they will be really popular. My personal favourite shade is the pastel green which is just a bit brighter than the others. I'm not usually a fan of yellow on my nails because it makes my skin look sallow but this textured effect was quite forgiving! My nails are not in great shape at the moment so it didn't last very long, maybe 3-4 days, but they sand texture doesn't catch on tights or hair which is the question everyone has asked me when they have seen it. I would recommend these if you love your pastel colours, but what something a bit different! Boots have a deal on at the moment when you buy 2 you save a pound, which is great for an already very cheap brand. I love Barry M because it is affordable but also because it is great quality and has the most exciting range of colours.


*I bought all these nail colours myself