Tuesday, 1 October 2013

Ciate: Emerald Collection


I have been so excited to show you the Ciate Emerald collection! I bought it a while ago for £25.00 online. The reason I bought it was because I have wanted to try the crushed velvet manicure so badly, but didn't want to buy just the kit on its own in case I didn't like it. When I saw the kit contained not only the crushed velvet, but caviar and glitter I knew it was the kit for me. Based on the lovely green emerald colour that is going to be the colour of 2013, I was really impressed with the kit, and want to buy all the kits individually now!


The kit contains everything you need, including a tray for all the mess, a clean up brush, and even a little funnel so you can decant the excess back into the bottle for no wastage! Little things like that really make something special to me so I was very impressed.


The actual emerald base colour supplied is called "ditch the heels", and is a full sized Ciate colour. I left one nail without any effects on so you could see it. It is a really lovely colour and I'd happily wear it alone.


None of the effects require a fiddly glue or anything, you just apply it to a wet second coat of the green base. For the caviar effect, you simply shake the bottle over the wet nail, and gently push in the balls to make them stick, and that's it! I love the colours of the beads. The gold, light and dark green give it a really festive feel, and I will certainly be sporting the collection over the Christmas season.


The glitter effect is achieved by dipping the wet second coat into the pot of glitter, and then wiping of the excess with the little brush. You can even afford to sweep over the whole nail to make the surface more flat. I am not 100% happy with the way mine turned out. I think I dipped my finger in a bit to hard, so I have a very uneven surface. I think less is more with this look, and it will last much longer without lots of layers, as I found they keep falling of due to there not being enough surface area for the glitter bits to cling onto! You also don't get such a good look at the pretty array of colours when it's heavily built up.


Finally, the velvet effect. As I bought the whole kit to try this effect I was really hoping I wouldn't be disappointed, and I really wasn't. Applying it was so easy, and the finished effect is exactly how I wanted it to be! It feels and looks exactly how you think it would, and I can't stop touching it. Due to this I think I have actually worn quite a bit of it away after a day, but the look is so versatile and it has really got the cogs in my head turning for future nail art ideas for example fluff, Christmas tree effect, grass??


The general staying power of these effects is actually really good. You can get your hand wet, then towel dry them and have no trouble, mine even stayed pretty tight after a hair wash which I thought would ruin it all. As I said about the glitter before, if you overload it then prepare to have a trail of green and gold glitter behind you. The velvet still feels very velvety after a day at work although the look is probably not as obvious as when I first did it. Quite a few of the caviar balls have fallen off, but after a day at work doing deliveries and opening boxes I would be very impressed if it had stayed on! Most of them are still in tact though and its the ones round the edge of the nail that have fallen off, and even where the balls have fallen off, they leave a little gold/silver imprint so it still looks like there is an effect on them.

Basically, if you want the nails for a certain occasion or party, then do the nails the day that you need them before because that is when they will look they're best.


 I absolutely love this kit, but I would love to know what you think about it? Is it perfect for the run up to the Christmas season or just too OTT?

Monday, 30 September 2013

Eve Lom NEW Age Defying Smoothing Treatment

Eve Lom is a brand that I haven't written about, but has been on my list to review.
Its a British brand that have high end, luxury skin care. They're predominantly natural and have proven results due to their skin science motif. They have recently brought out they're new 'age defying smoothing treatment', which is a night time treatment that makes your skin feel like satin. It really does have a smoothing effect, and makes your skin feel flawless. It's a night time treatment so you can put it on and let it work its magic overnight so your skin feels fresh and smooth in the morning, however it has such a great smoothing effect you could use it as a primer in the day. It is an anti aging treatment so it is full of peptides and 6 naturally derived amino acids. It has been compared to a natural botox because of its noticeable plumping effects, and  It feels like it has a silicone effect due to its smoothness, but it is free of silicone and parabens so has all the power, but none of the chemicals. The highly moisturising ingredient is squalene, which is naturally derived from olives, and is identical to the squalene we naturally produce in our bodies. It is a whopping £120 a pot, but it has been advertised in magazines among anti aging creams such as Lancome and Dior, which cost nearly double the price, yet have the same anti aging effects without the harmful chemicals which is a big thumbs up from me.


They're are 90 little sachets of serum in each pot, and in each sachet there is enough for the face and neck. The serum is a oil consistency and it smells slightly of cinnamon. It absorbs really quickly into the skin so you can go straight to sleep.

For more information follow this link to see the official Eve Lom website.


Friday, 27 September 2013

Plain Nails

Hi guys, sorry its been a while since I've posted, I haven't been well, and since I recovered I've been really busy! Due to my business, I have just be sporting plain nails recently which is quite unusual for me. I have quite enjoyed just having plain colour but I shall be doing some jazzy designs soon! Here are 4 colours that I have worn recently and really liked. I have also made an instagram for 'What A Looker' so please just search for 'whatalooker' and follow for mostly nail art!

'Baker Street' by Nail's Inc
'Baker Street' is such an amazing colour as the pigment is so strong. Really pretty and chic.


'I Love Juicy' by Leighton Denney
'I Love Juicy' was the base I used for my cartoon nails. Again, it is a very vibrant colour.
'La Paz' by Mavala
'La Paz' is a a very sophisticated but hot pink. It is quite understated but brightens up any hand.
'Raspberry' by Barry M
Finally, 'Raspberry' by Barry M is a deep red, almost burgandy colour. I have started embracing the autumn and bringing out my darker colours for my favorite season!

Monday, 16 September 2013

Leighton Denny Autumn/Winter 2013 The Temptation Collection

The summer is officially over and now all the Autumn/Winter collections are coming into season. From the nail collections I've seen so far, shimmery metallics and pearl finish is the trend this season. I am not usually a fan of pearl or shimmer, but some of the colours I've seen have been an exception.


The Leighton Denny advertisement features its pale purple colour 'Lilac Lust' clutching some dark beads. The collection has the feel of Christmas parties and glamour.


 'Lilac Lust' looks matte in the advertisment. It actually has a very subtle silver shimmer. It's quite a simple pretty colour.


'Mutual Attraction' is a light brown colour with a silver shimmer. I'm not a huge fan of this colour, but think it would like for someone who likes subtle nails.


'Hypnotic' is one of my favourite colours. It is a blue/teal shimmer that looks like an oil spill. As I said I don't like shimmer colours, but this is one I would make an exception for!

 'Attention Seeker' reminds me slightly of the Leighton Denny colour 'Best Seller' which is a similar deep berry colour with silver glitter. 'Attention Seeker' has more gold tones to it.


'Tempt Me' is another one of the colours I quite like. This deep purple has interesting tones of gold and green, again, giving it that oil look.


'Statement Maker' is probably my least favourite colour. The silver glitter overpowers the Emerald base colour that is meant to be huge this season.


What do you think of this collection? What sorts of colours do you want to see this season?

Friday, 13 September 2013

Cartoon part 2

Ok, I could have gone a little too far with this, but I couldn't resist trying to try the 2D makeup to go with my cartoon nails I did yesterday.


I found this fantastic tutorial by makeup extraordinaire and YouTuber, Emma Pickles. She is unbelievably talented and has some amazing tutorials so I highly suggest having a look. 


I didn't do the dots for this look as I wanted to copy my magazine cover a bit more! My final picture has been edited to give it a proper 2D look, but to prove I did actually do the make up and hard work I did a before and after picture.


To create this look I used a black felt tip eye liner from 'Collection' which only cost me £1.99 in Boots. I thought the felt tip nib would give me more of a precises finish and it was quite fitting for a 2D effect!
I also used Mac eyeshadow in colour 'Fashion Circuit' which is a highly pigmented colour.
I also used a Barry M white eyeliner for highlighting, and my Bare Minerals red lipstick.


I also realised I didn't put up how I did the matching cartoon nails. I just used Leighton Denny's 'I Live Juicy', then used nail art pens to highlight.


Thursday, 12 September 2013

Cartoon Nails

If any of you 'like' my Facebook page (and you should! Link here), then you would have seen I posted a picture of my latest Scratch Magazine front cover, which is a seemingly cartoon picture of a woman on the phone, slightly Roy Lichenstein-esque. However this picture is made entirely from make-up, and a bit of airbrushing I'm sure for the sharpness. Nevertheless it is pretty impressive, and the hands and nails in particularly interested me. Making something 3D look 2D is a pretty difficult task!


I tried to do something similar and create a 2D effect. I used nail pens to create shadows and highlighting with nail pens, and I used a matte top coat to create the cartoon strip effect. These reminded me of when I did pop art nails, where I used a similar concept. 


I find them quite strange and they mess with my head a bit, but it's a really easy and simple look that is really effective. Would you try it? Also, I have a new badge to put on my pictures for authenticity. Swish!

Monday, 2 September 2013

Chevron Nails


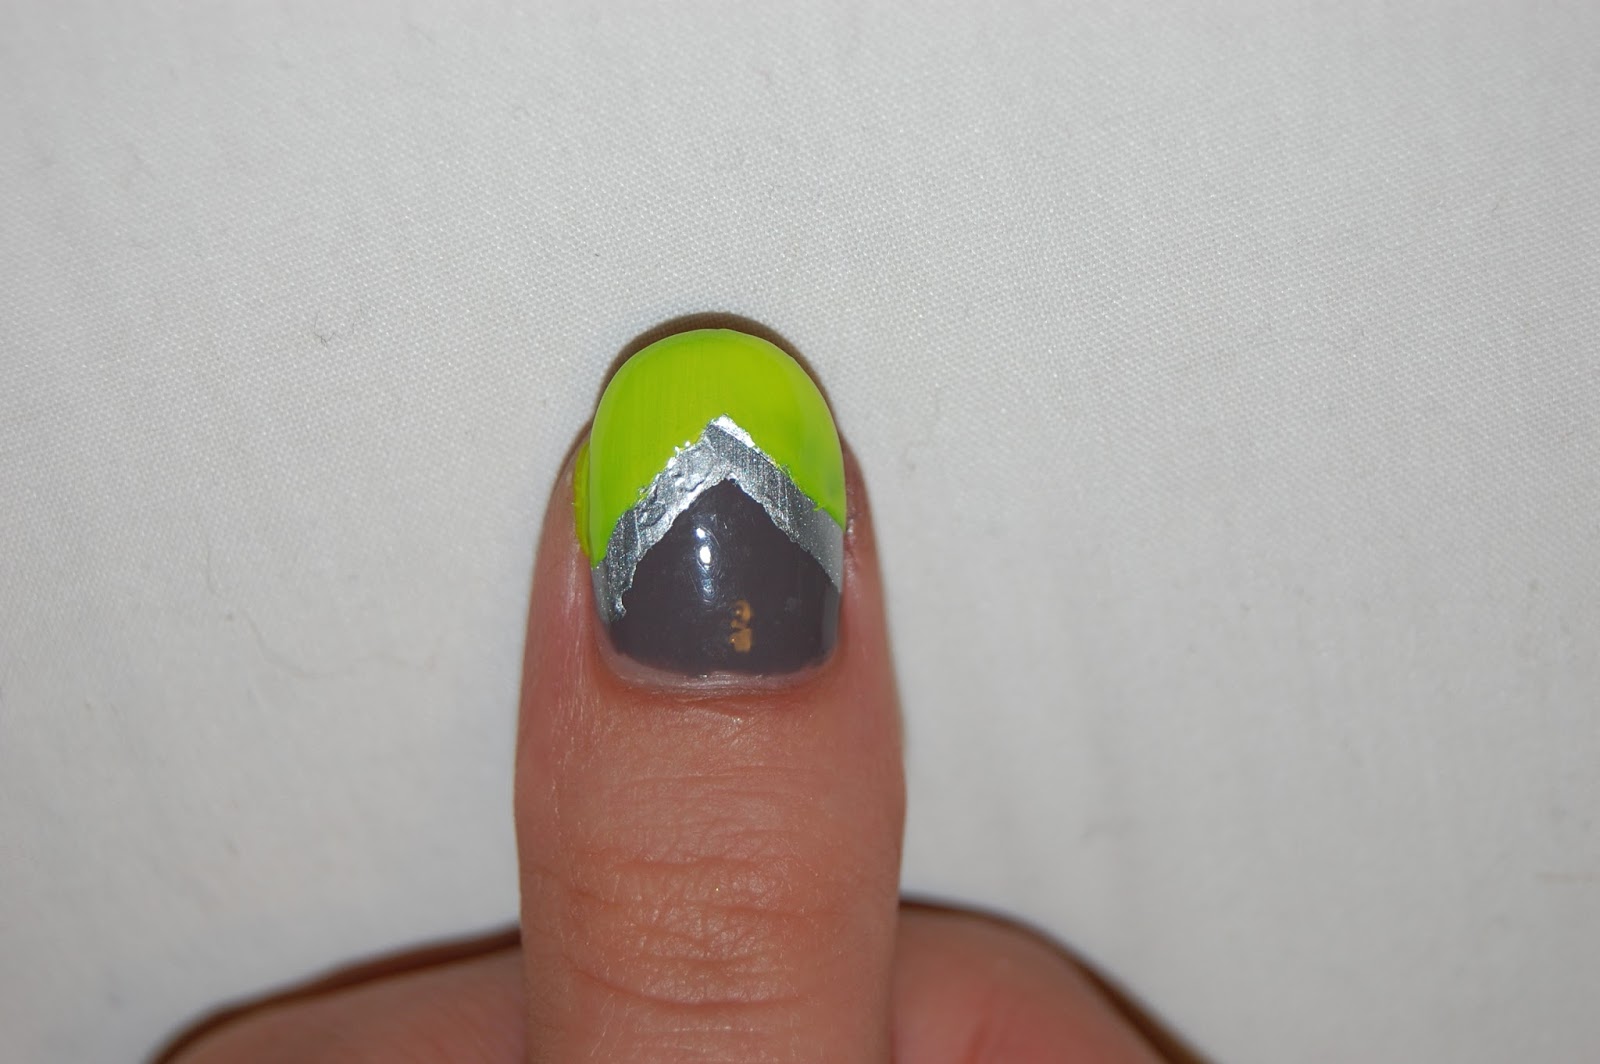
The 'nail term' for these arrows, is 'chevron', and I've seen so many different variations of it so thought I'd try my own. To create different layers, I invested in some scotch tape which is only about £2.00 or less from WHSmith. I will not lie to you, I found the tape a real nightmare to use, and abandoned it halfway though and resorted to a nail art pen for the finishing bits, but that's not to say it isn't a good technique. I think sometimes I like doing things by hand as I have more control, I know what you'll say, 'A good workman never blames his tools' yada yada yada.

Anyway! To create this look you will need:
scotch tape
scissors
3 different colours of nail varnish
top and base coat
nail art pens


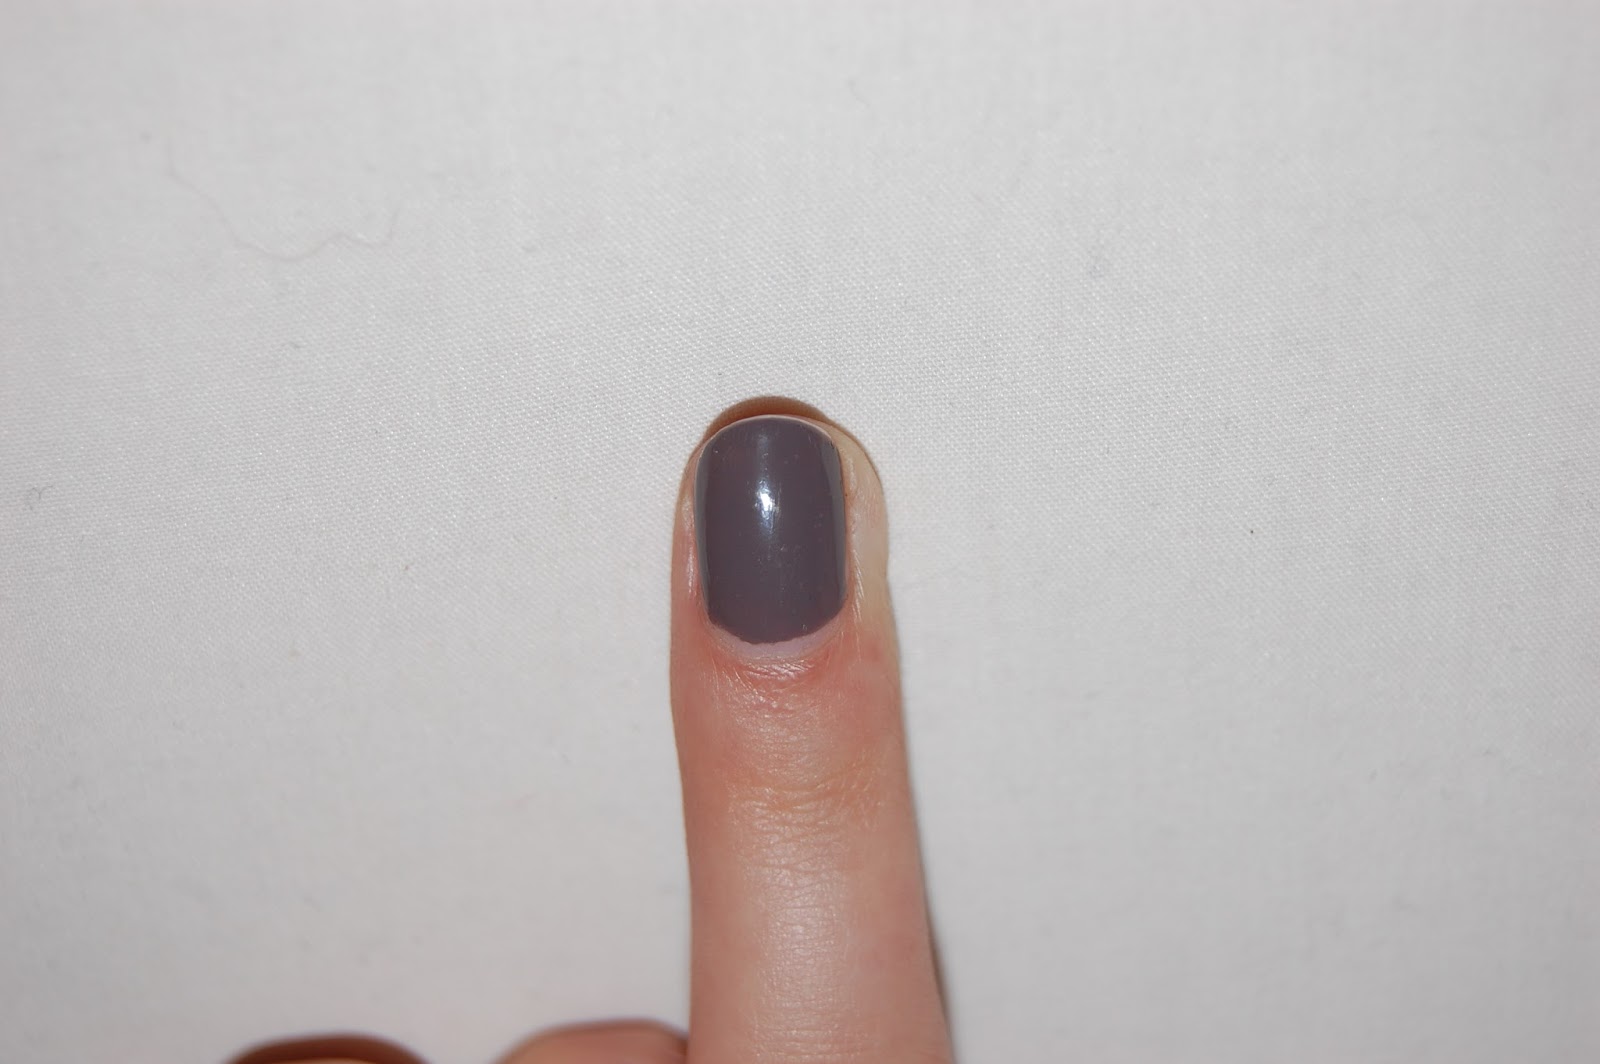
To start, I used my favourite ever shade of Mavala polish, Elle. This is the first Mavala polish I ever bought and its such a lovely grey that looks deep purple in some lights, and a dusty brown in others.


After cutting the scotch tape into my desired shape, I positioned it on the nail where I wanted, and painted over it using the Barry M metallic silver.


Whilst still a little wet, peel it of slowly to reveal the first chevron.


Repeat the process again and then use your next colour. I chose the Models Own neon yellow, to make the darker shades pop.


(here was where I abandoned the tape) I next carefully drew lines from the very center tip of my nail to create another chevron...


...and then filled it in.


Finally, I outlined each chevron to make each colour stand out.