
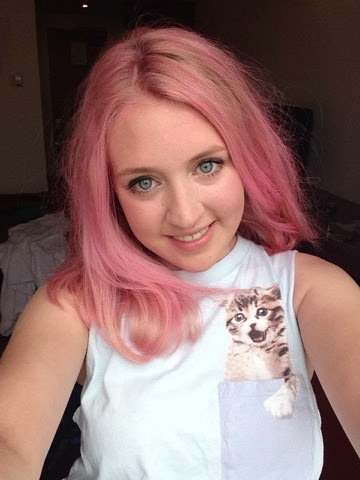
If you follow my Instagram page, you would have seen I posted this picture of my beet root ended barnet. In this post I will show you how hair chalk is a great way to change up your look whether it is just by colouring the ends of your hair, or your entire head.

I was inspired to try hair chalk after I saw ASOS post a video of Phoebe Lettice from Made in Chelsea, using hair chalk as a quick fix. Love her or hate her, she has been a big hair influence on me, and my Hair Pinterest board has a lot of pictures of Phoebe, and her occasionally pink hair.
Here is the video of Phoebe Lettice using hair chalk that I mentioned earlier. She uses a Kevin Murphy hair chalk, and also one from Fudge which is a brand I really want to try out. The round 'bugs' she uses look easier to apply than the Topshop stick one I used, as it has a flatter surface and a little case to minimize pink hands afterwards.
I have wanted pink hair for so so so so so so so long now, but I wanted a quick fix into pink hair that could be washed out for work or in case I didn't like it. Hair chalk is a fantastic way to colour your hair without the commitment. This washed out of my hair fine and was a great change for one night.

The hair chalk I got was this one which was £4 from Topshop. I had a few issues with it, but overall it was a really cheap way to colour my hair. I literally coloured strands of my hair in. In the video of Phoebe using one, she ran it down from root to tip to create the pink. I found I had to really go up and down my hair though to get the colour out. It could be due to my thick hair though. Using this technique made my hair quite volumized so I didn't need to use any product to make my hair big like she does in the video.
If I'm being honest, my hair felt pretty horrible with the hair chalk in. A bit strawy and dry, but it stayed put all evening, and even when I slept with it in over night, it didn't come off on my pillow (thank god because we were staying in a hotel!) and was actually not as messy as I thought it would be. When chalking my hair, bits did break of the stick but other than that it was an easy process. Due to the thickness of my hair I spent about 30/45 mins chalking my hair.
Here are some of my dos and don'ts when using hair chalk
DO wear gloves when applying the chalk, as I had very pink hands for the rest of the evening which took a good few washes to remove.

DO section your hair into bits to make sure you don't miss anywhere.
DON'T wear your hair up. If your going to use this chalk make sure your wearing your hair down, as I also had a very pink neck!
DON'T wear an expensive top. I got a fair bit of pink on my clothes around the collar at the back so don't wear anything you absolutely love and paid a fortune for. The chalk washed out of my clothes fine but JUST in case.
DO this in a bathroom where you can wipe down surfaces and avoid carpet as much as possible.
Apparently you can apply the hair chalk to damp hair and then lock the colour in with hair straighteners when dry, which may be the solution to a lot of these problems, but I think that would make the colour last longer which I unfortunately didn't have the time to do. I will give that a try the next time I want to chalk my hair and let you know how it goes!

Here is a picture of my finished pink hair and my boyfriend enjoying a glass of wine before heading to the o2 to see Katy Perry.
Hope you enjoyed!
No comments:
Post a Comment