


The 'nail term' for these arrows, is 'chevron', and I've seen so many different variations of it so thought I'd try my own. To create different layers, I invested in some scotch tape which is only about £2.00 or less from WHSmith. I will not lie to you, I found the tape a real nightmare to use, and abandoned it halfway though and resorted to a nail art pen for the finishing bits, but that's not to say it isn't a good technique. I think sometimes I like doing things by hand as I have more control, I know what you'll say, 'A good workman never blames his tools' yada yada yada.
Anyway! To create this look you will need:
scotch tape
scissors
3 different colours of nail varnish
top and base coat
nail art pens

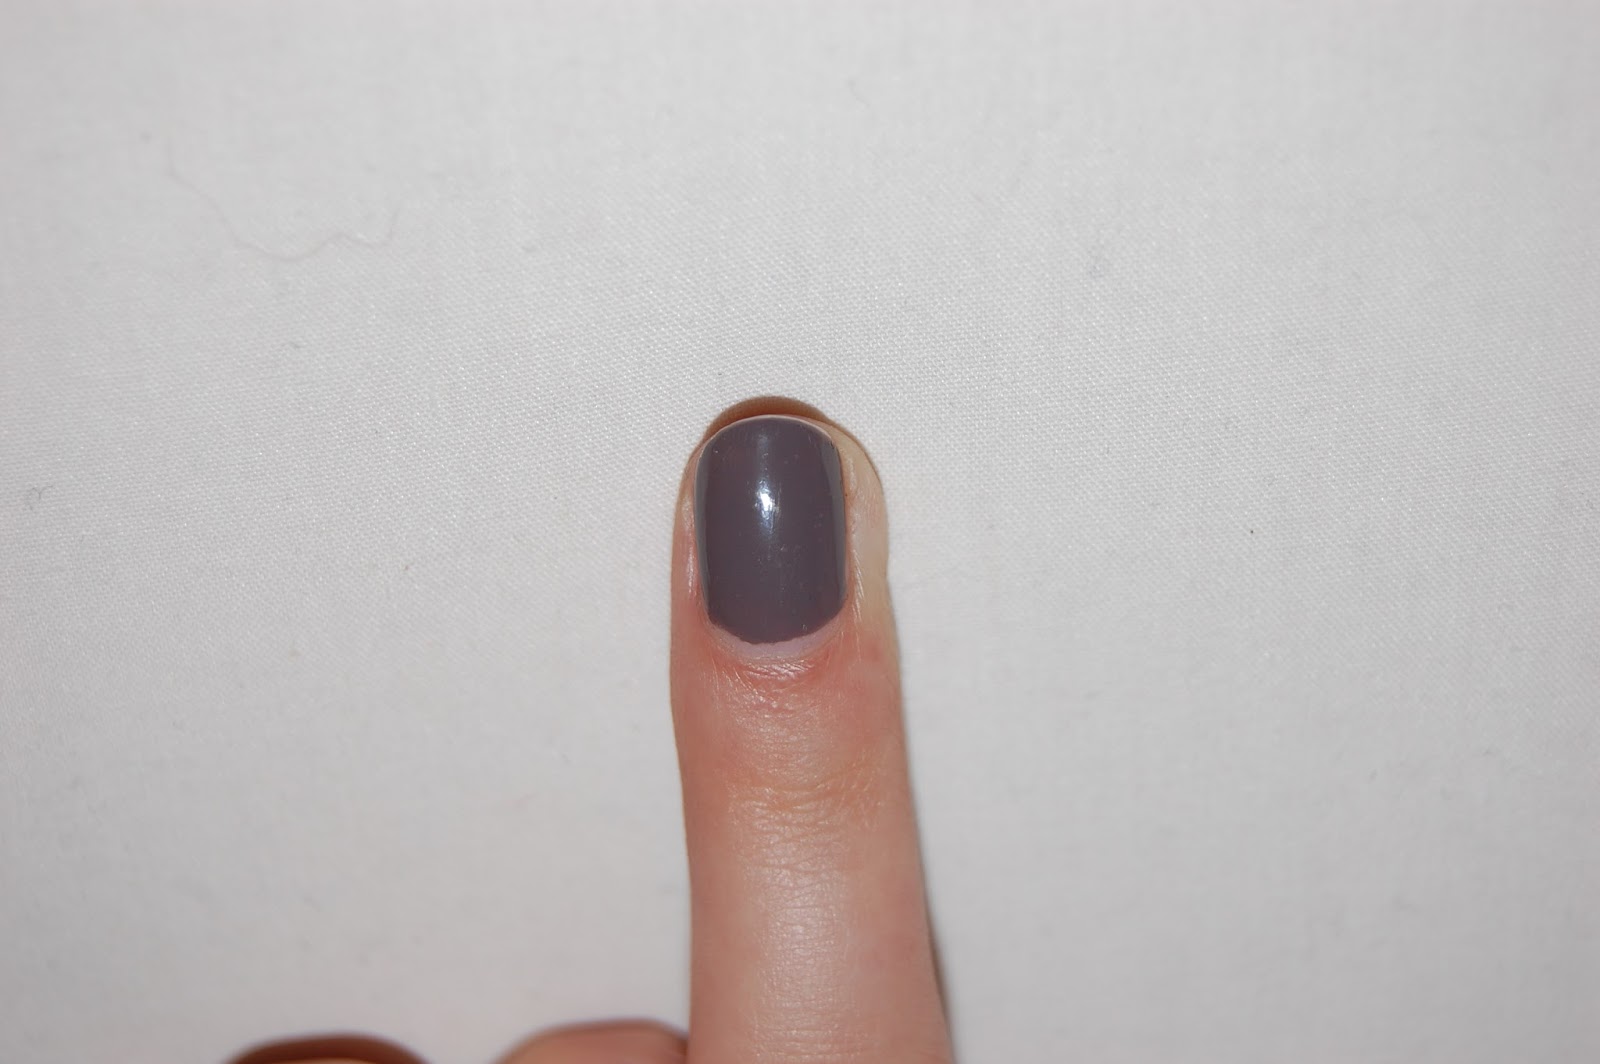
To start, I used my favourite ever shade of Mavala polish, Elle. This is the first Mavala polish I ever bought and its such a lovely grey that looks deep purple in some lights, and a dusty brown in others.

After cutting the scotch tape into my desired shape, I positioned it on the nail where I wanted, and painted over it using the Barry M metallic silver.
Whilst still a little wet, peel it of slowly to reveal the first chevron.

Repeat the process again and then use your next colour. I chose the Models Own neon yellow, to make the darker shades pop.

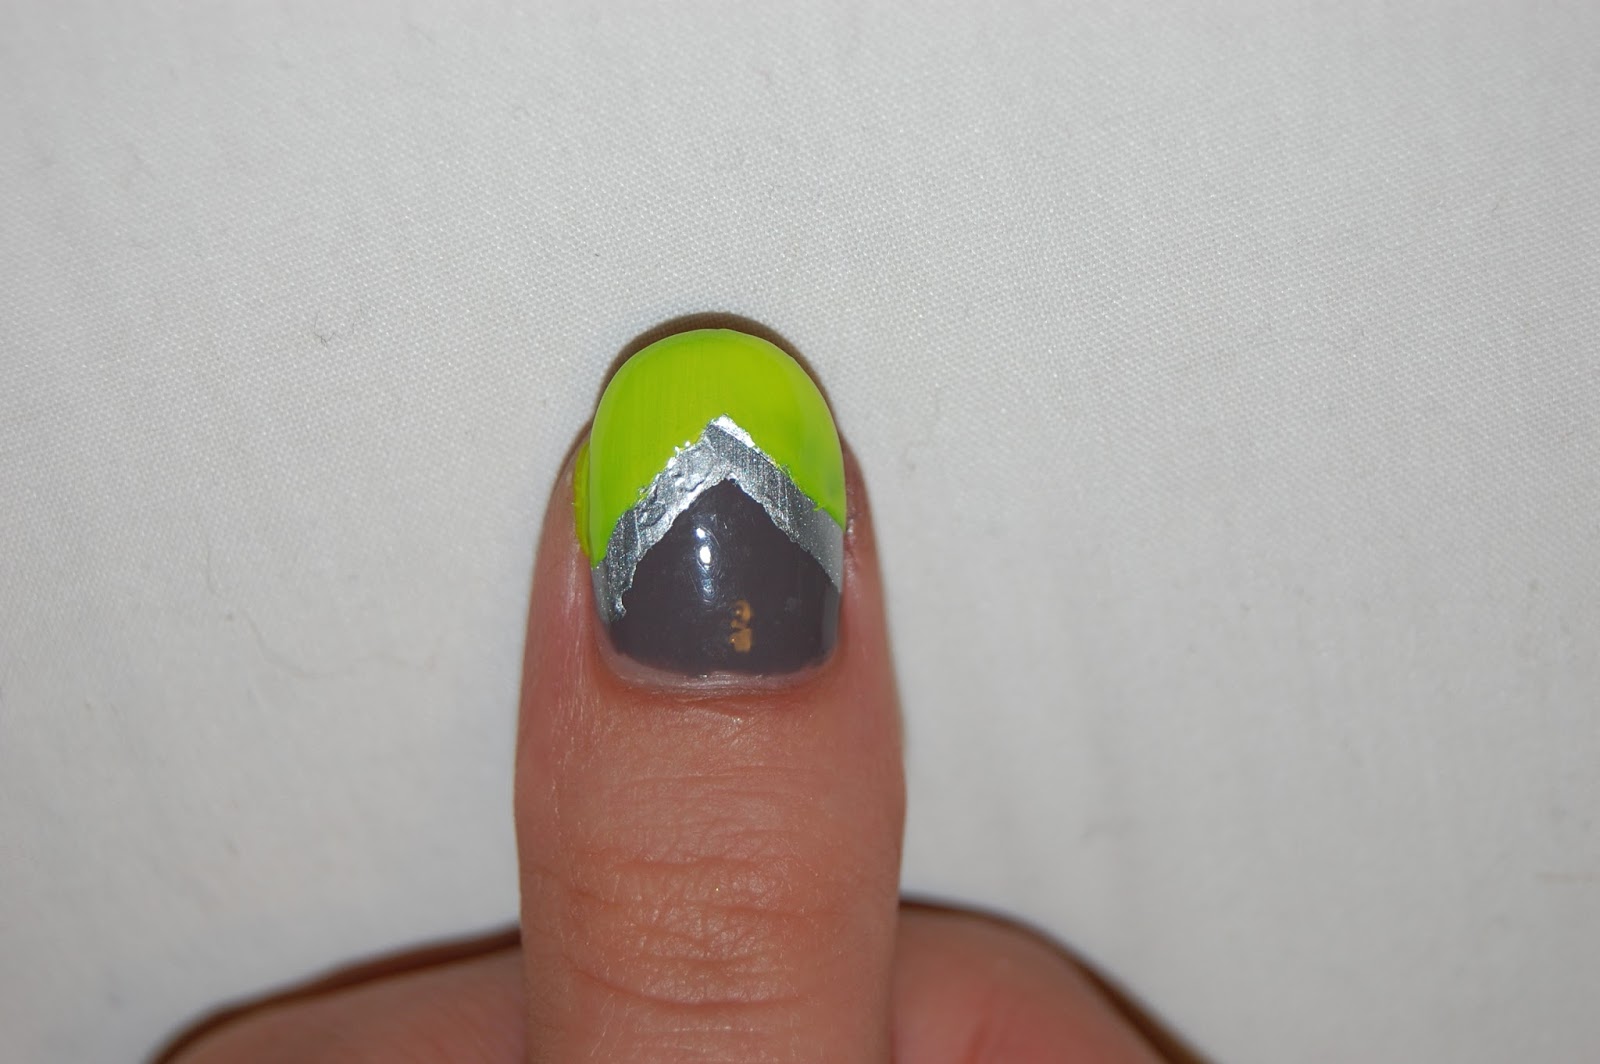
(here was where I abandoned the tape) I next carefully drew lines from the very center tip of my nail to create another chevron...

...and then filled it in.

Finally, I outlined each chevron to make each colour stand out.


No comments:
Post a Comment